
Why the external drive is the normal case
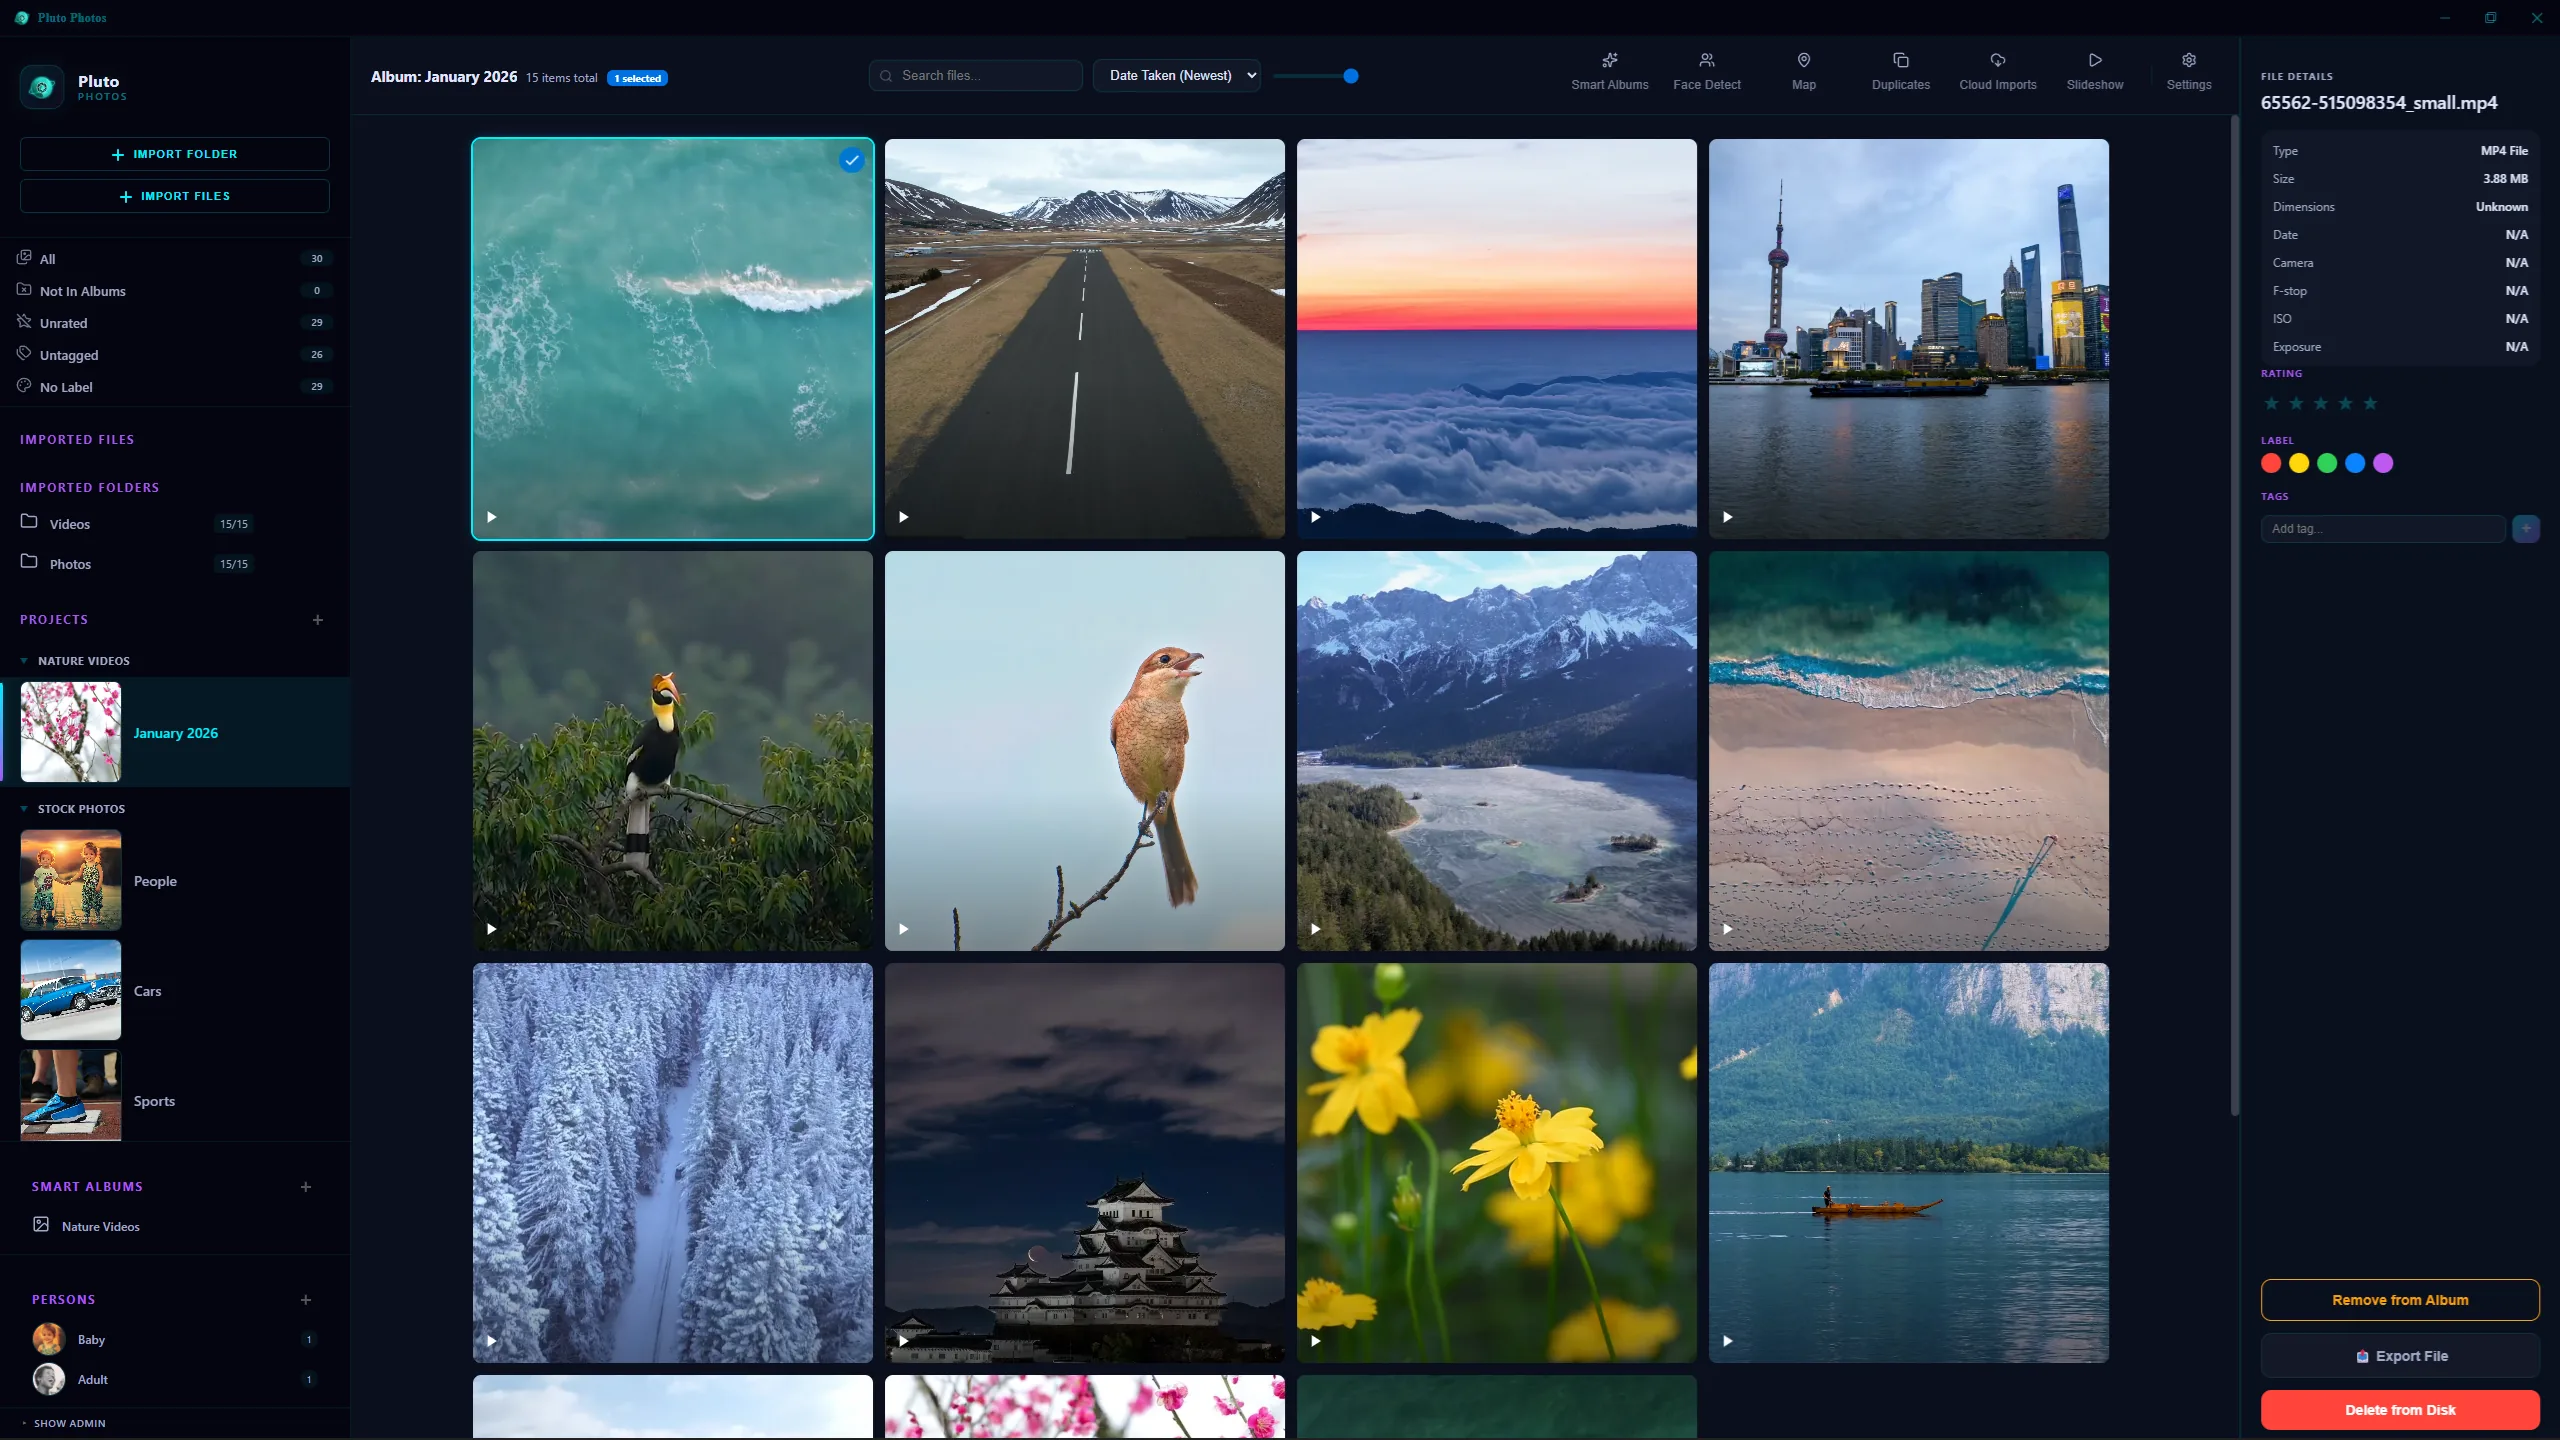
Phone cameras got good, video got big, and internal SSDs stayed small. A 512 GB laptop cannot hold fifteen years of photos and 4K video, so the library moves to an external drive — and Pluto Photos is built around exactly that case: it indexes whatever folder you point it at rather than importing your files into a proprietary vault, so the drive can be the library instead of a workaround.
Pointing Pluto Photos at an external drive goes wrong in exactly two ways, and both are avoidable if you set the drive up deliberately before your first import.
Pin the drive letter before you import anything
Pluto Photos stores the absolute path to every file it indexes. Plug the same drive into a different USB port on Windows and it can come back as F: instead of E: — at which point every path Pluto Photos recorded is wrong, and the library shows a wall of files it can no longer find. This isn't a bug to work around; it's what "your files stay exactly where they are" means, and it cuts both ways.
Fix it once, at the operating-system level, before you run your first import:
On Windows, open Disk Management, right-click the drive's partition, choose Change Drive Letter and Paths, and assign a fixed letter well down the alphabet — P: for photos, say. Letters near the start get handed out to whatever is plugged in first; a letter nothing else will claim stays yours.
On macOS, give the volume a distinctive name in Disk Utility and always eject it properly before unplugging. The Volumes/Name 1 problem is almost always a drive that was pulled while still mounted.
On Linux, add an /etc/fstab entry keyed on the filesystem UUID rather than /dev/sdb1, because the device node depends on plug order and the UUID does not.
If a drive does get reassigned before you've done this, use Import Folder to re-point the same project at the drive's new path rather than starting a second library — Pluto Photos re-matches files it already knows against their new location.
Why the first import is the slow part, and what Pluto Photos does about it
An external hard drive is not just "slower than an SSD" — it is slower in a shape that matters. Sequential reads are fine; a modern USB 3 drive will stream 100+ MB/s happily. What is expensive is seeking: moving the head to a new file. For a photo library, which is hundreds of thousands of small reads scattered across the disk, seeks dominate everything.
Two numbers from measuring Pluto Photos' own ingest pass against a real 21,000-file library on an external USB drive:
- Reading a 64 KB metadata header from each file cost about 41 ms per file, and about two-thirds of that was waiting on the drive, not computing anything.
- Concurrency makes it worse past a point. One reader sustained 33 MB/s. Eight concurrent readers managed 21 MB/s between them, because the head spent its time travelling instead of reading.
That's why Pluto Photos' import is built the way it is:
It reads each file exactly once. Date, GPS, dimensions, orientation and the thumbnail all come from a single 64 KB header read during ingest — not four separate opens for four separate fields. On a spinning external disk that's most of what keeps a first import from taking all afternoon.
Let that first index finish before doing anything else on the drive. It's the one pass that has to touch every file. Starting a backup, an antivirus scan, or a second import at the same time makes both jobs slower than running them one after another — the numbers above are why.
The thumbnail cache and database live on your internal drive by default, not the external one. Thumbnails get read constantly while you scroll; the originals get read once at import and then only when you open one. That split is what gives you internal-SSD scrolling speed over an external-drive library.
An external SSD removes the seek penalty entirely and is the single best upgrade if a big import is dragging. If the budget only stretches to a hard drive, the above is how Pluto Photos makes that pleasant anyway.
Setting up the drive itself
Pluto Photos doesn't need — or want — an elaborate folder structure to organize your library, because dates, people, places, tags and smart albums do the actual organizing once photos are indexed. The folder tree only needs to be a sensible place to put files. Something boring and shallow works best:
P:\Photos\
  2024\
  2025\
  2026\
  Scans\
  Screenshots\
Year folders are enough. Do not build 2025\06 June\Holidays\Beach\Day 2\ — that structure encodes exactly one way of looking at your photos, and you will want a different one within a year.
The one structural rule worth keeping: one root folder, not five. Add P:\Photos\ to Pluto Photos as a single imported folder and everything under it is one library; a mix of P:\Photos, P:\Old Backup and P:\From Laptop added separately makes the duplicate finder do more work and makes backing the whole thing up with one rule harder than it needs to be.
Backups: Pluto Photos indexes your drive, it doesn't duplicate it
An external hard drive is a single point of failure with moving parts, and consolidating your entire photo history onto one is a genuine risk if you stop there. Pluto Photos is deliberately local-first — it isn't quietly uploading a second copy to a server in the background — which means, honestly, that backups are still your job. The minimum viable version is a second external drive, cloned periodically and kept somewhere else. That's the trade-off local-first software asks you to accept in exchange for owning your library outright, and it's worth being upfront about rather than glossing over.
Working with the drive unplugged
Pluto Photos keeps its catalogue — thumbnails, dates, tags, faces, ratings — in a database on your internal drive, separate from the original files on the external one. That means with the drive unplugged you can still open Pluto Photos, browse thumbnails, search, rate and tag, and plan what to do next; only operations that need the full-resolution original — opening it in the editor, exporting it — ask you to reconnect the drive.
Getting started
Download Pluto Photos, point Import Folder at your external drive, and let the first index finish before you do anything else with it. The free tier covers 500 photos, which is enough to run through a full import on one year's folder and see how it behaves with the drive unplugged before you commit the whole thing. See the system requirements for supported platforms.