
Why 100,000 is a different problem
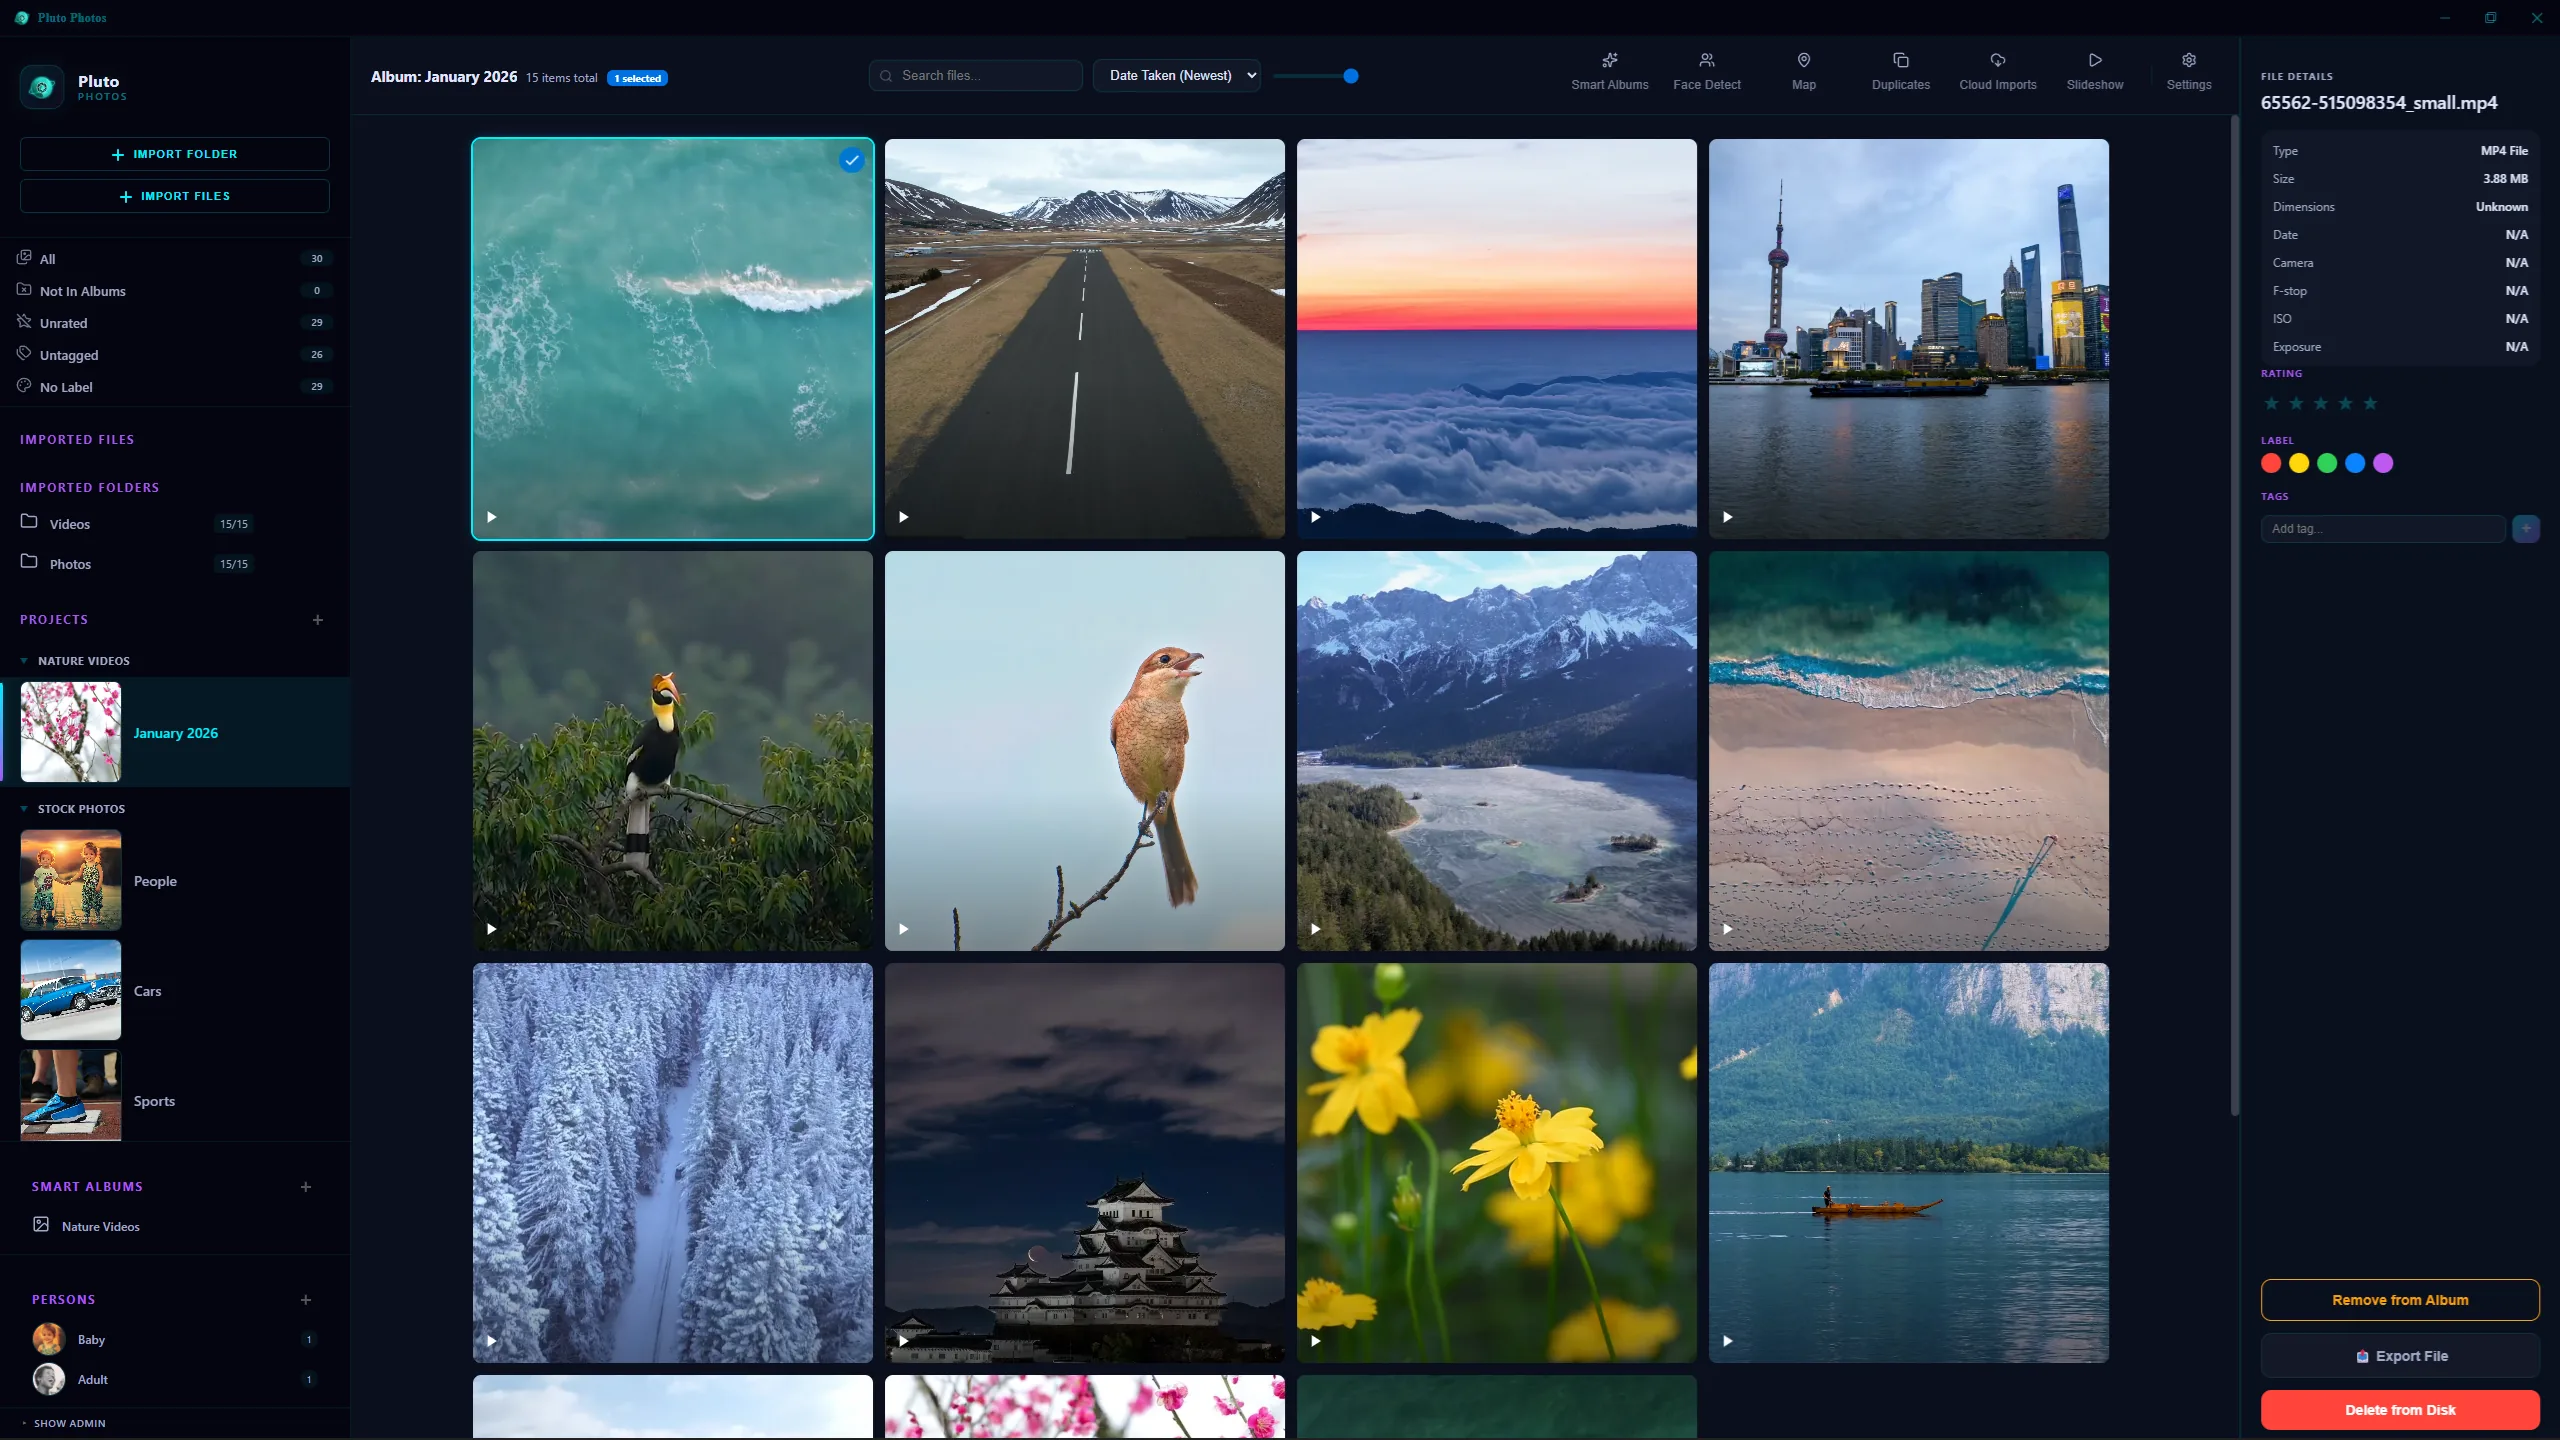
Organizing 2,000 photos is a weekend of clicking. Organizing 100,000 is not the same job scaled up. It is a different job, because every technique that relies on you looking at each photo stops being available. At one second per photo, with no breaks, 100,000 photos is 28 hours of staring.
So the method has to be: do nothing per-photo that a computer could do for you, and spend your own attention only where a computer genuinely cannot decide. That reframing is what Pluto Photos is built around, the steps below are the order to actually run it in.
Step 1: Stop adding to the mess
Before organizing anything, find every place photos are currently arriving and point them at one destination. In practice that is usually:
- Your phone's camera roll
- A partner's or family member's phone
- SD cards from a real camera
- Screenshots (which are photos, and there are always more of them than you think)
- Old drives, old laptops, old backups
You do not have to consolidate them yet. You just have to know the list, because a library that is still growing in five directions can never be finished.
Step 2: Get everything onto one drive
This is the least glamorous step and the one people skip. A photo library spread across four drives cannot be de-duplicated, because you cannot compare what you cannot see at once.
Copy, do not move, everything into one folder tree on one drive. Use plain, boring folder names. Do not try to organize while copying; you will lose track of what has been copied and what has not, and a half-finished copy is worse than no copy.
If the total is bigger than any single drive you own, this is the point at which to buy one. An external hard drive is cheaper than the time you will spend working around not having one, and Pluto Photos works fine pointed at an external drive if you set it up deliberately.
Step 3: Point Pluto Photos at the folder and let it index once
Add the consolidated folder to Pluto Photos with Import Folder and let it read everything once. This is the slow step, and it is worth understanding why so you can plan around it.
For each file, Pluto Photos opens it, reads its metadata header, works out the capture date and orientation, and produces a thumbnail, all from that one open. On a fast internal SSD this is limited by how fast the CPU can decode. On an external hard drive, where most large libraries actually live. It is limited by how fast the drive's head can move to the next file.
That difference is dramatic. Measured against a real 21,117-file library on an external USB hard drive, Pluto Photos opening each file once and reading a 64 KB header cost 41 ms per file. An earlier version that opened each file four times, once to check it existed, once for GPS, once for dimensions, once for the thumbnail, cost 92 ms per file for exactly the same result. The bytes were not the problem; the seeks were, which is why this one design choice is most of what decides how long your first import takes.
Two practical consequences:
Start the first index and walk away. At 40 ms per file, 100,000 photos is about 70 minutes of pure indexing. At 92 ms it is nearly three hours. Either way, it is not a thing to sit and watch.
Do not run other heavy work on the same drive at the same time. A spinning disk gets slower as you add readers, not faster: measured on the same hardware, one reader sustained 33 MB/s and eight concurrent readers managed 21 MB/s between them. If you kick off a backup at the same time as an import, both take longer than running them one after the other.
Step 4: De-duplicate before you touch anything else
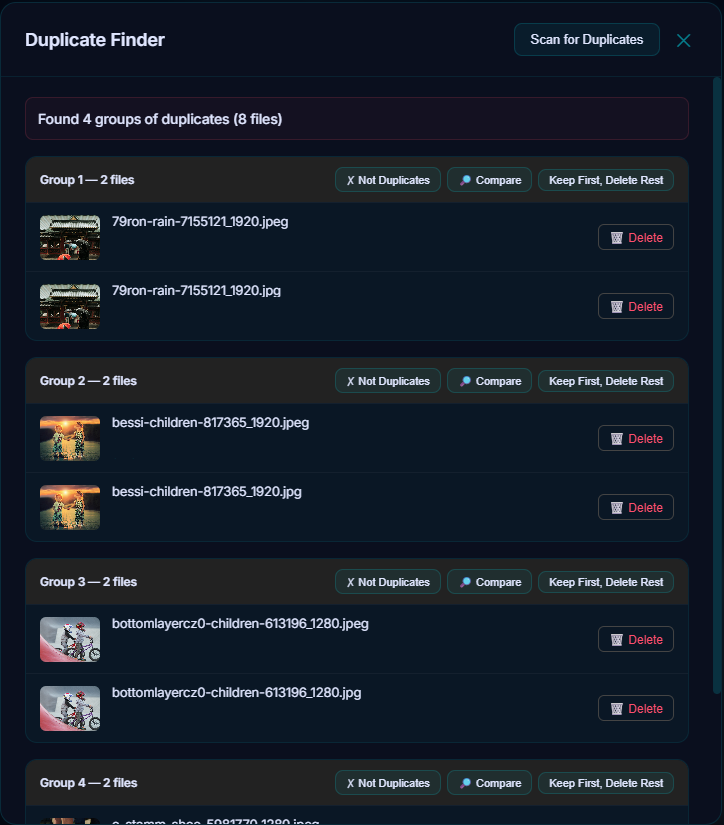
A consolidated library is full of duplicates, because you have just merged four backups of overlapping content. Run the duplicate finder now, before anything else, removing them first means every step after this one operates on a smaller, cleaner set.
Filename matching will not do it. The same photo lives on your drive as IMG_4471.JPG, IMG_4471(1).JPG, 20190812_143302.jpg and a re-encoded copy some messaging app made at 60% of the resolution. Pluto Photos matches perceptually instead, a fingerprint of what the image looks like, so a resized or re-saved copy still matches its original.
Work through the groups from largest to smallest; Best Shots ranks each group by measured focus, exposure, contrast and colour so the copy Pluto Photos suggests keeping is the sharpest one, not just the biggest file. Do not agonize over burst shots. There is a safe workflow for this that avoids the one mistake that actually hurts, which is deleting the original and keeping the compressed copy.
Step 5: Let the machine do the sorting
This is where the "nothing per-photo" rule pays off. Pluto Photos runs three passes automatically once the index finishes:
People. Face detection groups every face in the library into clusters, and you name the clusters, not the photos, in the People panel. Naming 30 people is a coffee's worth of work and it retroactively organizes tens of thousands of photos by who is in them.
Places. Anything shot on a phone carries GPS coordinates, so Map View organizes a decade of travel with no input from you at all.
Subjects. Pluto Photos' plain-English search matches a description against what is actually in a picture, so typing "dog on a beach" or "birthday cake" finds photos you never tagged. Here is how that works under the hood, the short version is that it is a similarity search over image embeddings, and it runs on your CPU.
None of these three require you to open a single photo.
Step 6: Add the small amount of structure only you can add
Now, and only now, add human structure, and add much less of it than you think you need. The mistake at this scale is building a 40-tag taxonomy that you abandon in a month.
A tag is worth creating only if you can finish applying it in one sitting and you will actually search for it later. In practice that is usually five to fifteen tags, not forty. Pluto Photos' star ratings work better than tags for "this is the good one": select a range in the grid, rate it in bulk, and set up a smart album like "4 stars and up" once, so it keeps filling itself as you rate new imports.
Step 7: Decide what "done" means
A 100,000-photo library is never finished, so define the finish line yourself. A reasonable one:
- Everything is in one place and indexed.
- Duplicates are gone.
- People are named.
- You can find any photo you can describe in under a minute.
That is achievable in a weekend of mostly-waiting. Building a perfect folder hierarchy is not achievable at all, and chasing it is how people end up with a folder called "Unsorted" containing 80,000 files.
Getting started
Every step above runs locally, on your own CPU, with nothing uploaded, that's true of the indexing, the duplicate finder, face detection and plain-English search alike. Download Pluto Photos, consolidate one worst-case drive first, and start with step three. It's a one-time purchase rather than a subscription, and the free tier handles 500 photos, which is enough to run the whole method end to end on a test folder before pointing it at the real 100,000.