
How to Brighten a Dark Photo
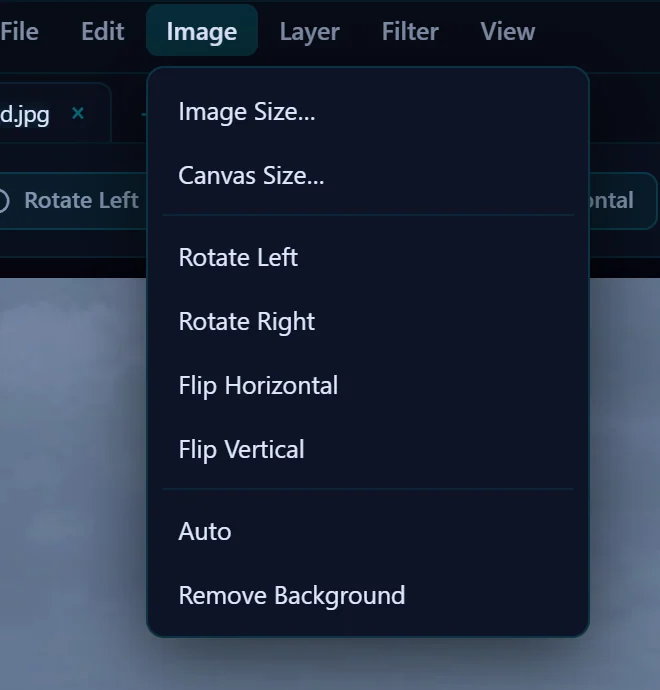
Open the Light tab and raise Exposure, then add a little Contrast and lift Shadows. Watch the histogram so you don't lose detail. Or choose Image > Auto to let the editor make a first pass.
Requires Pluto Photos Pro (one-time $29, no subscription). The free download includes a 30-day trial of every Pro feature.
#1. Open the photo and the Light tab
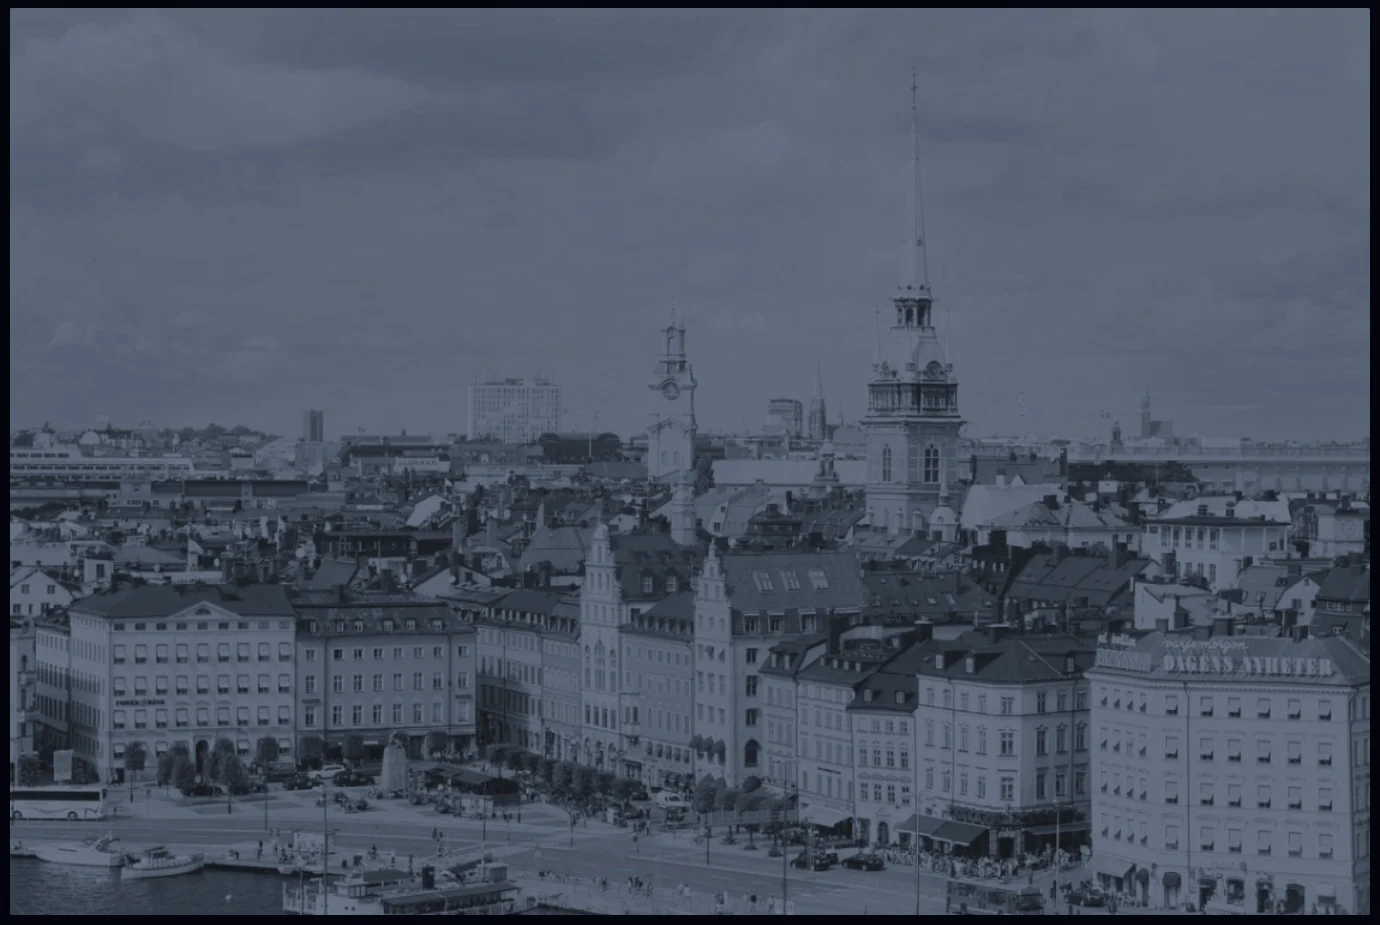
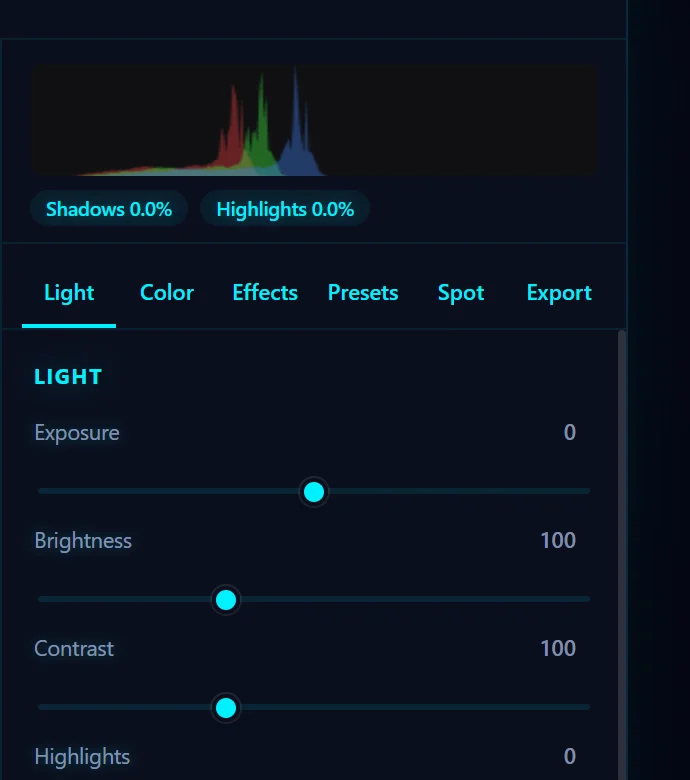
This city photo is dull and underexposed, and the histogram at the top right is bunched up on the left. Click the Light tab in the right-hand panel. It has sliders for Exposure, Brightness, Contrast, Highlights, Shadows, Whites and Blacks, plus Clarity, Dehaze and Sharpen under Detail.
#2. Read the histogram
The graph shows how many pixels sit at each brightness, dark on the left and bright on the right. A photo that needs brightening has its hump on the left. The Shadows and Highlights chips show how much of the photo is pure black or pure white. Try to keep both close to 0%.
#3. Raise Exposure, then fine-tune
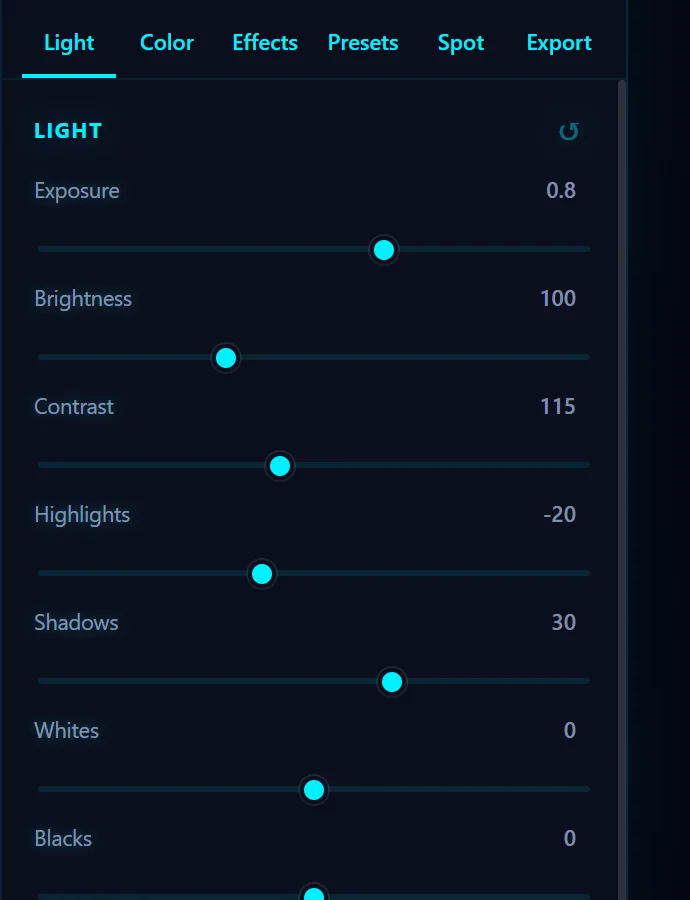
Drag Exposure to the right. It is measured in stops, from -3 to +3, so small moves matter. +0.8 is a big lift. Then add a little Contrast (115), raise Shadows to open up the dark areas, and pull Highlights down a bit so the sky doesn't blow out.
You can click the number beside any slider and type a value. Double-click a slider to reset it, or click the ↺ in the section heading to reset the whole group.
#4. Check the result
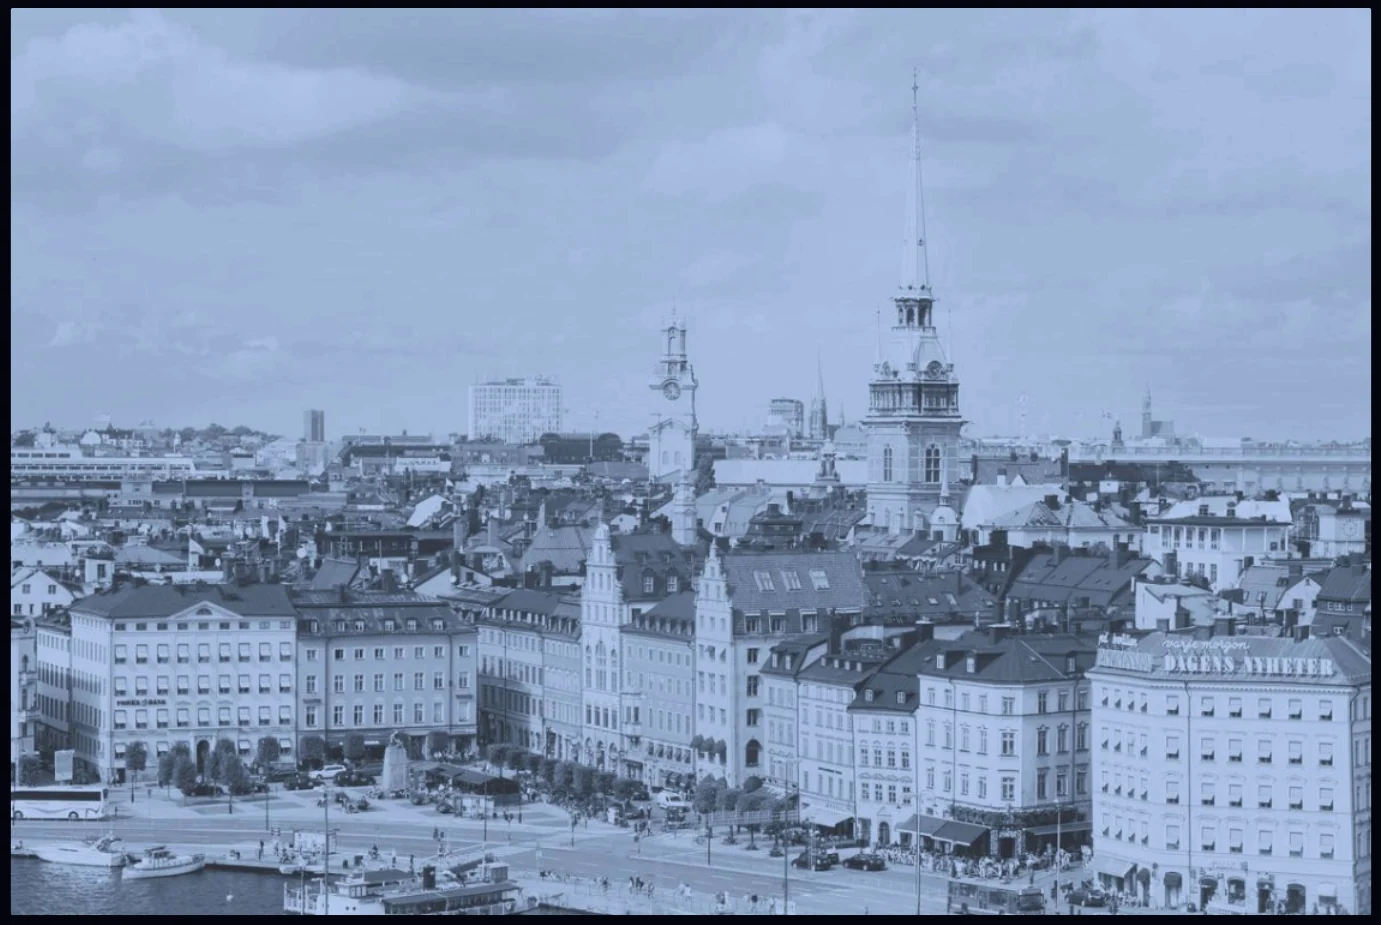
Hold the eye button at the top of the editor to flash the original, or press B for a split before/after view. If detail is disappearing in the brightest areas, lower Highlights or back off Exposure.
#5. Or start with Auto
For a quick first pass, choose Image > Auto, or click Auto in the options bar. The editor reads the histogram and adjusts exposure, color and contrast for you. The change is logged in History, so you can refine it with the sliders or undo it.
#Tips
- Raising Shadows brightens the dark areas without washing out the sky. Exposure lifts the whole photo.
- If the photo looks flat after brightening, add some Contrast or a little Clarity.
- If the color looks off as well, fix it with white balance.
#Questions
- How do I brighten a photo without losing detail?
- Raise Shadows and Exposure a little at a time and watch the Highlights chip under the histogram. If it climbs, pull Highlights down.
- What does Exposure measure?
- Exposure is in stops, from -3 to +3. Each full stop doubles or halves the amount of light, so +1 is much brighter.
- Can I undo a brightness change?
- Yes. Press Ctrl+Z, double-click the slider to reset it, or click an earlier step in History.
About the photo editor · Pricing · Download Pluto Photos · Contact support