
How to Remove Scratches from an Old Photo
Choose Filter > Noise > Dust & Scratches, set Radius 6 and Threshold 25, and click Apply to clear the scratches and specks across the whole photo. Then paint over any faint marks that remain with the Spot Heal tool.
Requires Pluto Photos Pro (one-time $29, no subscription). The free download includes a 30-day trial of every Pro feature.
#1. Open the scan and zoom in on the damage
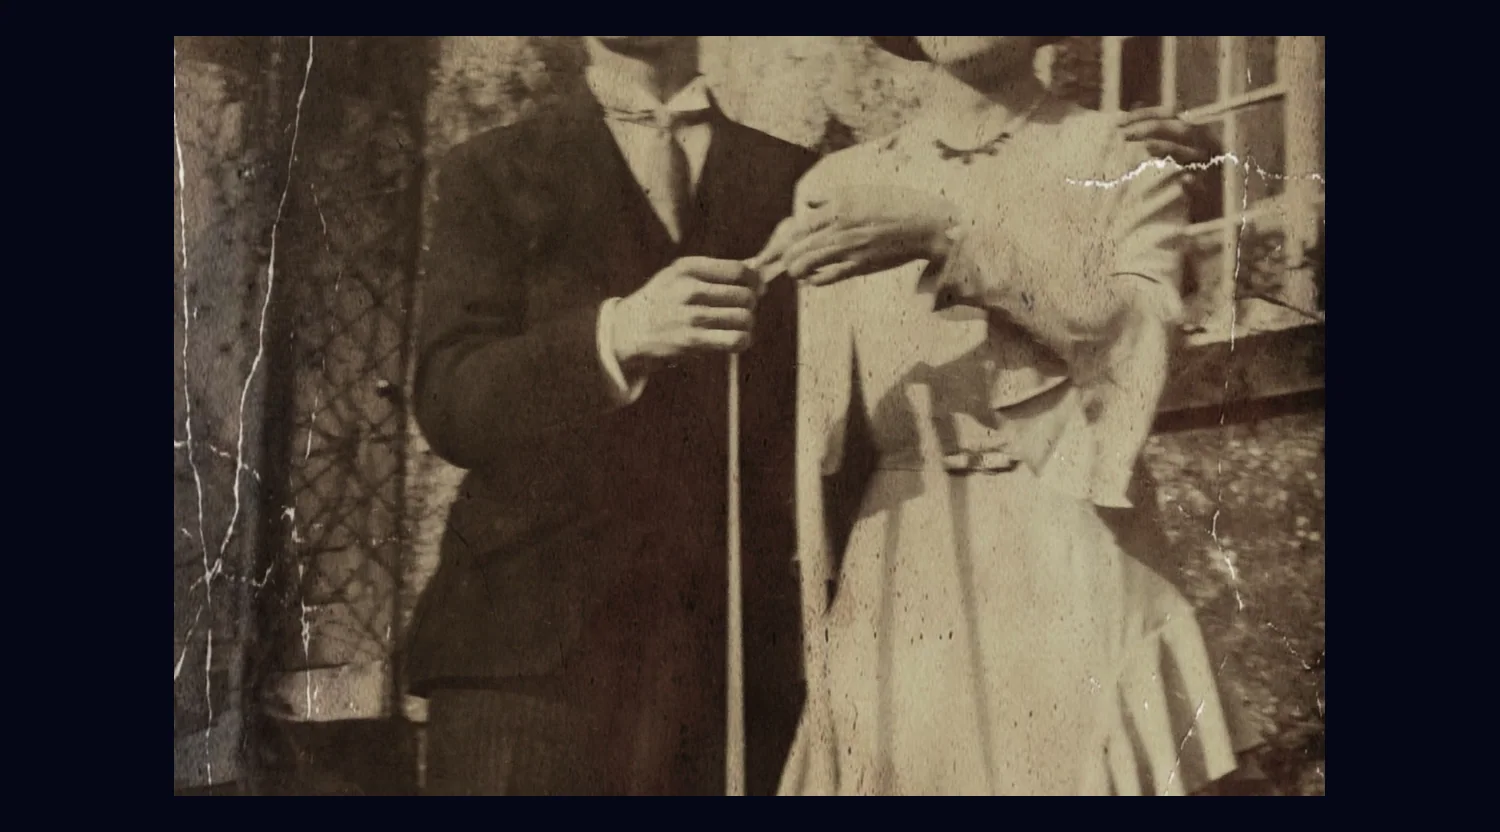
Open the scan of your photo and zoom in so you can see the scratches. This stock photo from Pexels has long white scratches, creases and a scatter of dark specks across the whole print. If you can, scan prints at 600 dpi or more, because small flaws are easier to repair on a big image.
#2. Run Dust & Scratches on the whole photo
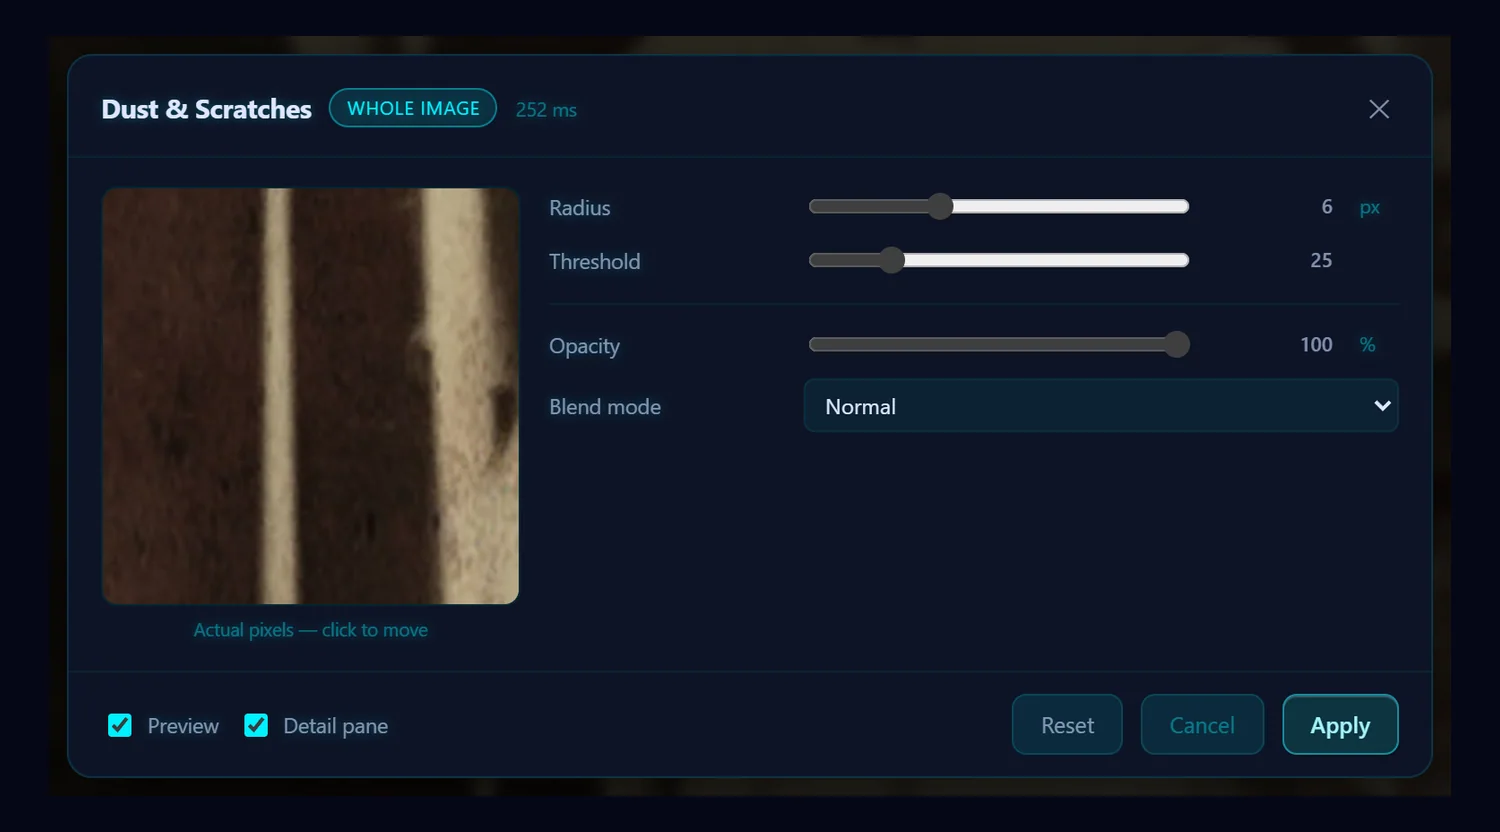
Choose Filter > Noise > Dust & Scratches…. Set Radius to 6 and Threshold to 25, then click Apply. The filter looks at each pixel and replaces it with the median of its neighbors only if it differs from them by more than the threshold. Radius is how wide a flaw it can remove, so it needs to be about as wide as the widest scratch. Threshold is how different a pixel has to be before it's touched. A scratch is far brighter than the paper around it, so a fairly high threshold still removes it, and the photo's texture is left alone. The badge says Whole image because there's no selection.
#3. Check the result
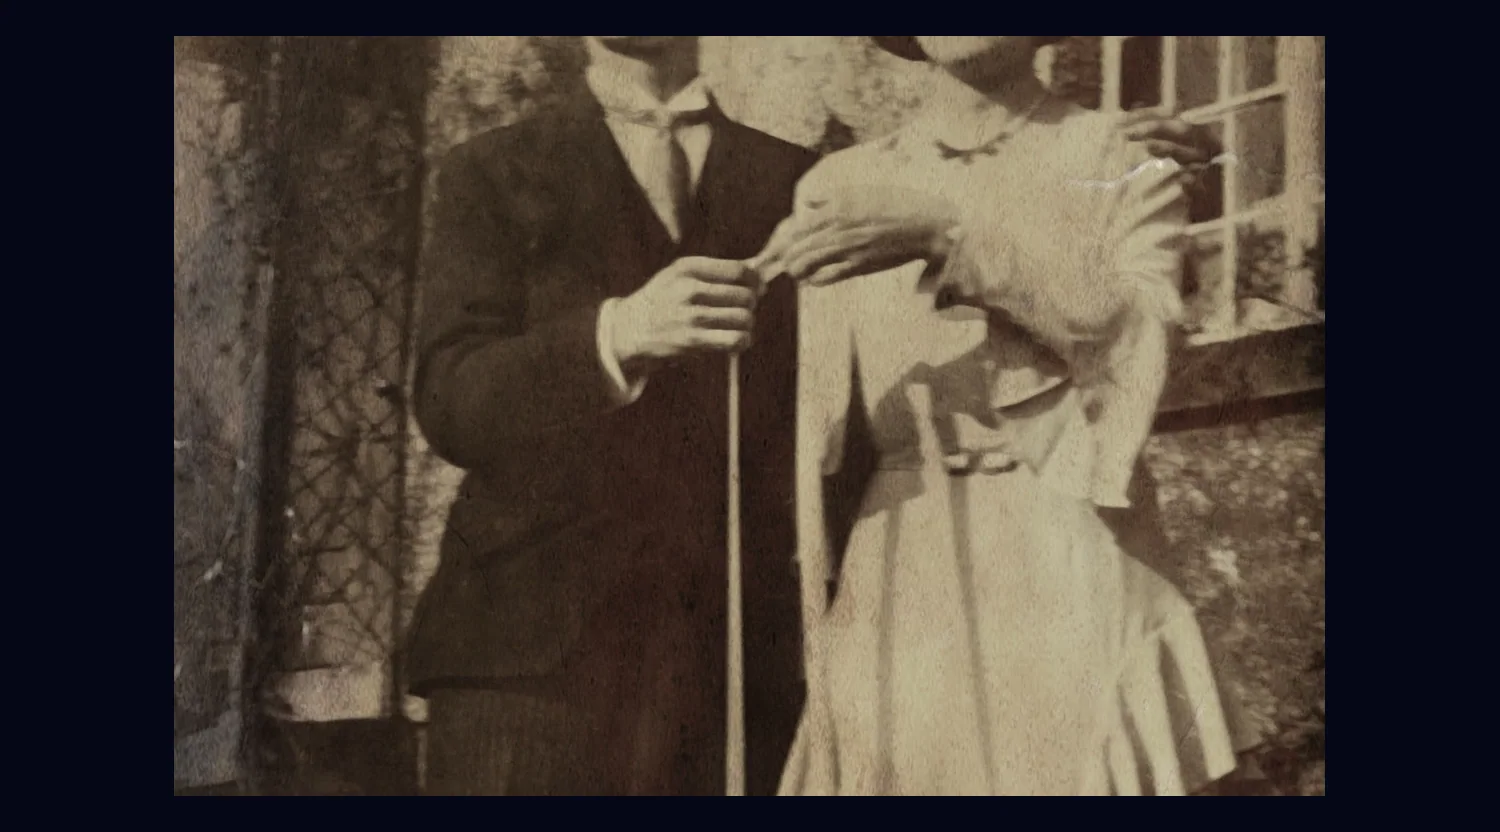
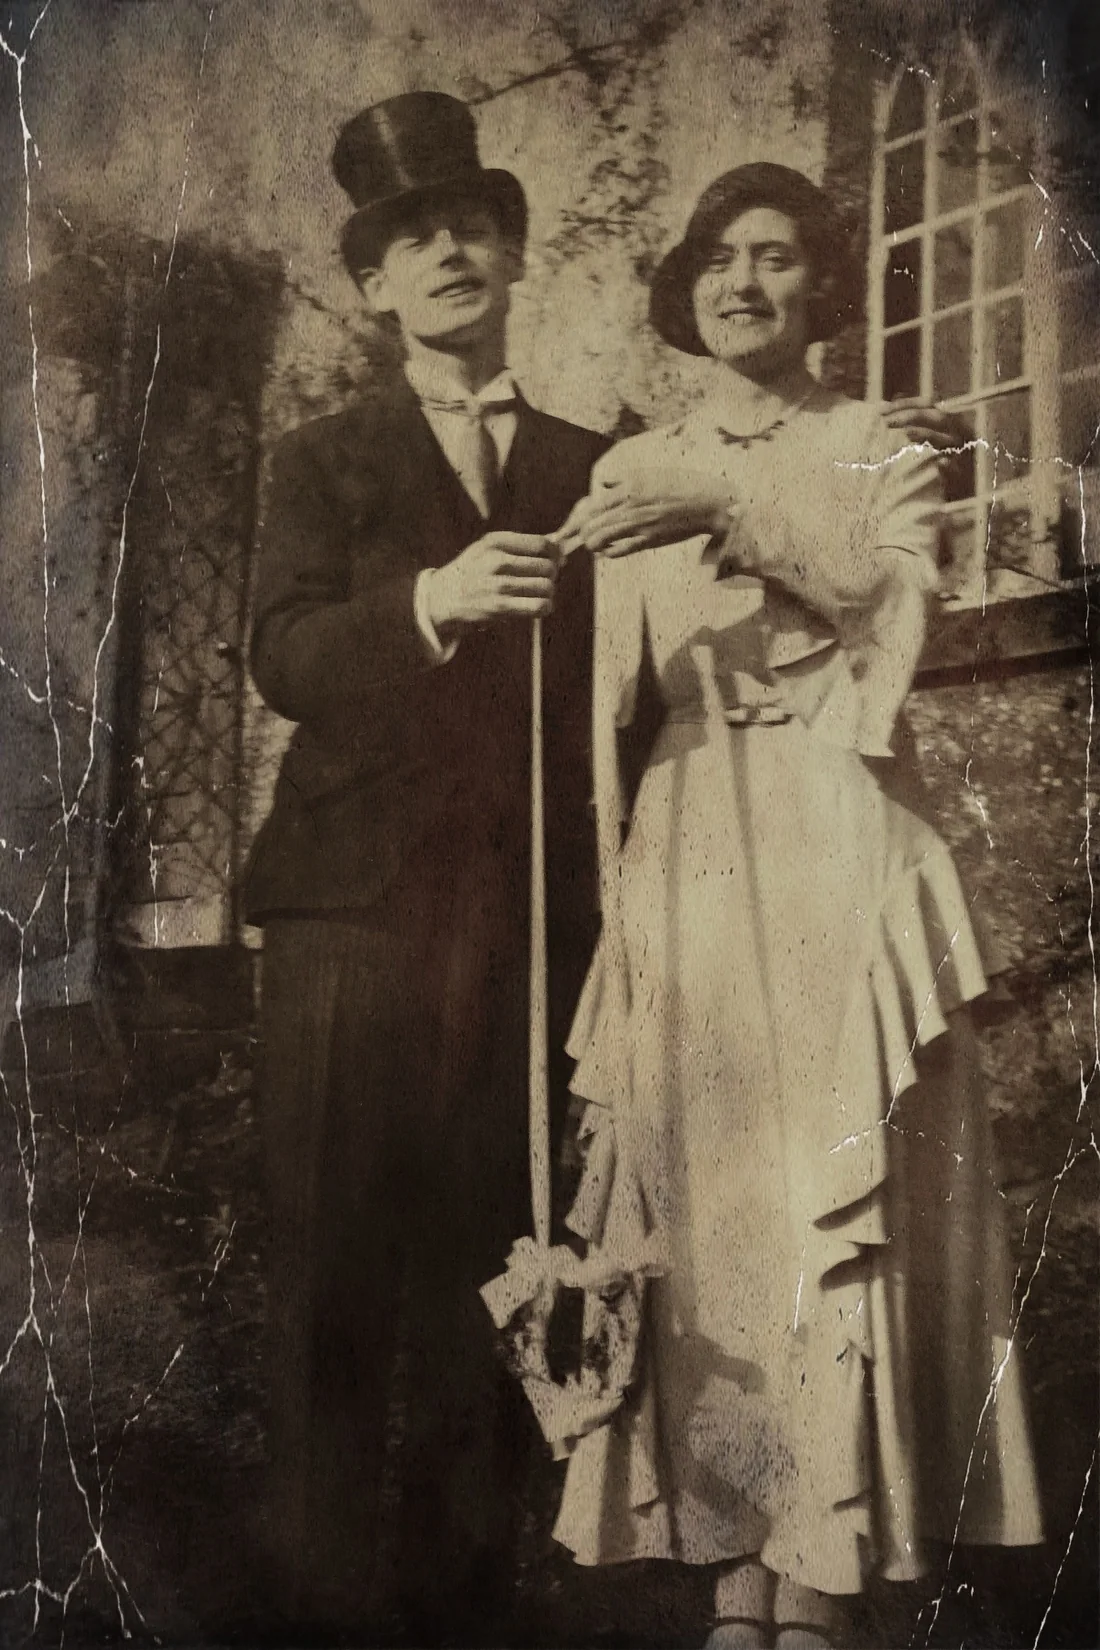
The long scratches and the specks are gone across the whole photo, not just in this corner. The picture is a little softer, which is what the filter costs. If it has softened something you care about, press Ctrl+Z and try a smaller radius or a higher threshold.
#4. Spot Heal what's left
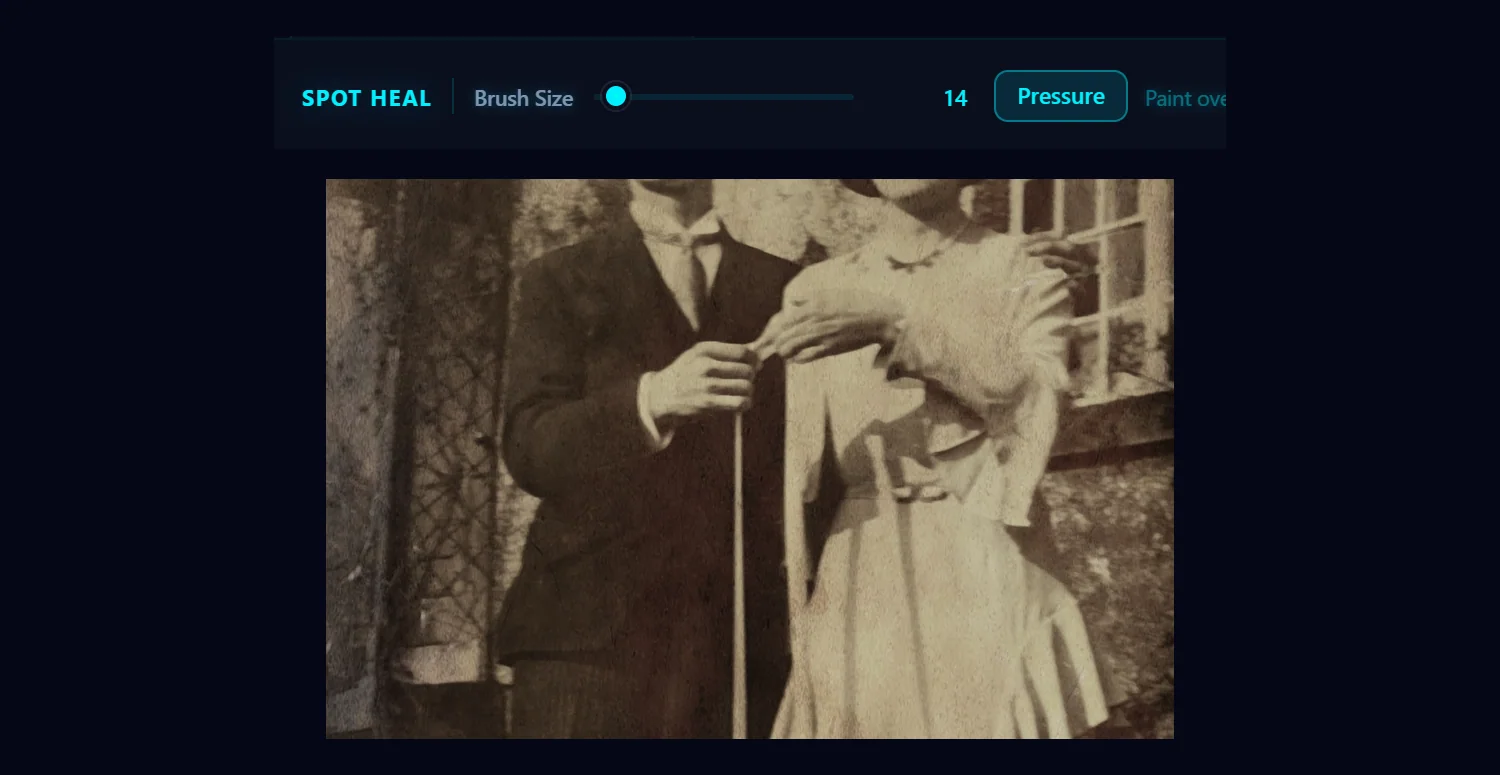
A few faint marks usually survive. Click the Spot Heal tool, set Brush Size a little wider than the mark (14 here), and paint over it. The area is rebuilt from the pixels around it when you release. Use short strokes, and follow a streak along its length. Each stroke is a separate step in History.
#5. Compare the whole photo
Drag the slider to compare the original with the repaired photo. The scratches, creases and specks across the whole print are gone, and the faces and clothing keep their detail.
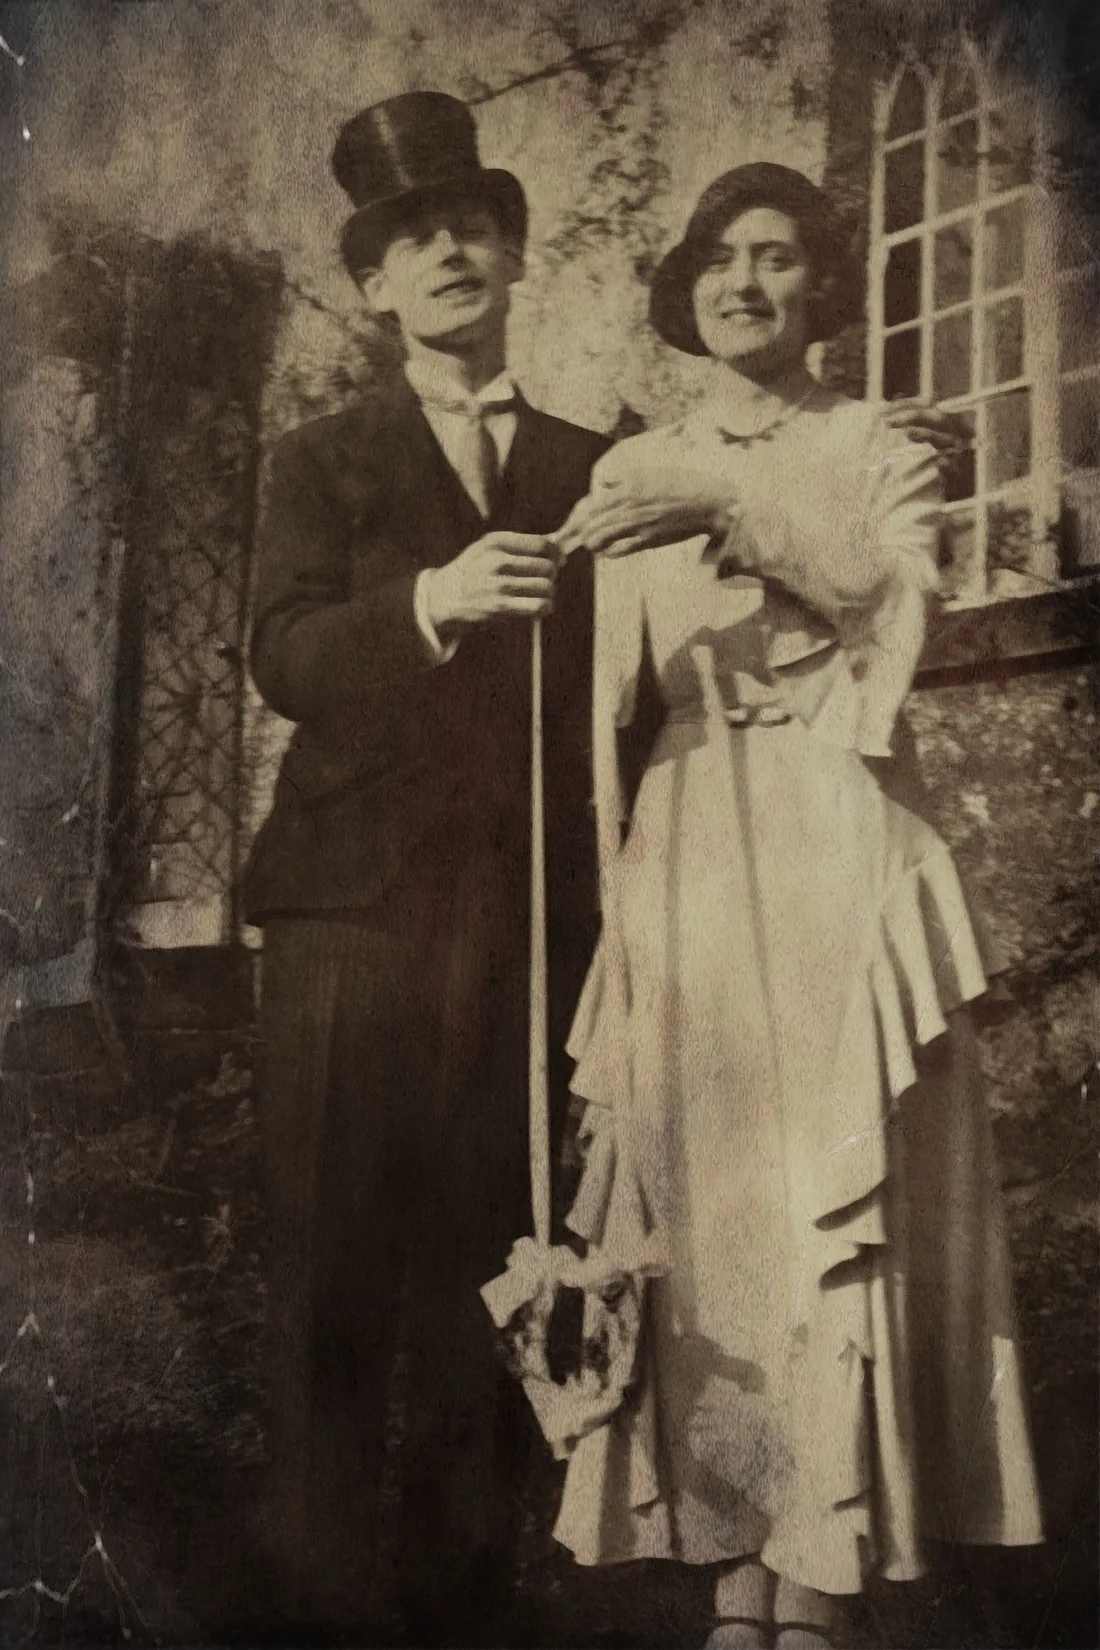 BeforeAfter
#Tips
- Radius matters most. A radius that's smaller than the scratch only thins it. If thick scratches are still visible, raise the radius a little. If detail goes soft, lower it.
- A higher threshold protects texture and fine detail. Lower it if specks survive.
- To keep faces sharp, make a selection around the damaged areas before you run the filter. The dialog badge then says Selection only.
- Lower the Opacity in the dialog to blend the filter with the original.
- Heal strokes can smear near edges such as fingers and hair. Undo and use shorter strokes, or try the Clone Stamp.
- Once the damage is gone, make the photo look clearer.
#Questions
- How do I remove scratches from an old photo?
- Run Filter > Noise > Dust & Scratches with a radius about as wide as the scratches and a threshold of 20 to 30, then use the Spot Heal tool on any marks that are left.
- What do the Radius and Threshold sliders do?
- Radius sets the widest flaw the filter can remove. Threshold sets how different a pixel must be from its neighbors before it is replaced, so a higher value protects more texture.
- Does it work on dust spots as well as scratches?
- Yes. Both show up as pixels that differ sharply from their surroundings, which is what the filter looks for.
About the photo editor · Pricing · Download Pluto Photos · Contact support