
How to Whiten Yellow Teeth in a Photo
Add an adjustment layer that lowers orange and yellow saturation, add a layer mask, click one tooth with the Magic Wand in Colour mode, then invert the selection and delete it from the mask. Only the teeth change.
Requires Pluto Photos Pro (one-time $29, no subscription). The free download includes a 30-day trial of every Pro feature.
#1. Open the photo and zoom in on the teeth
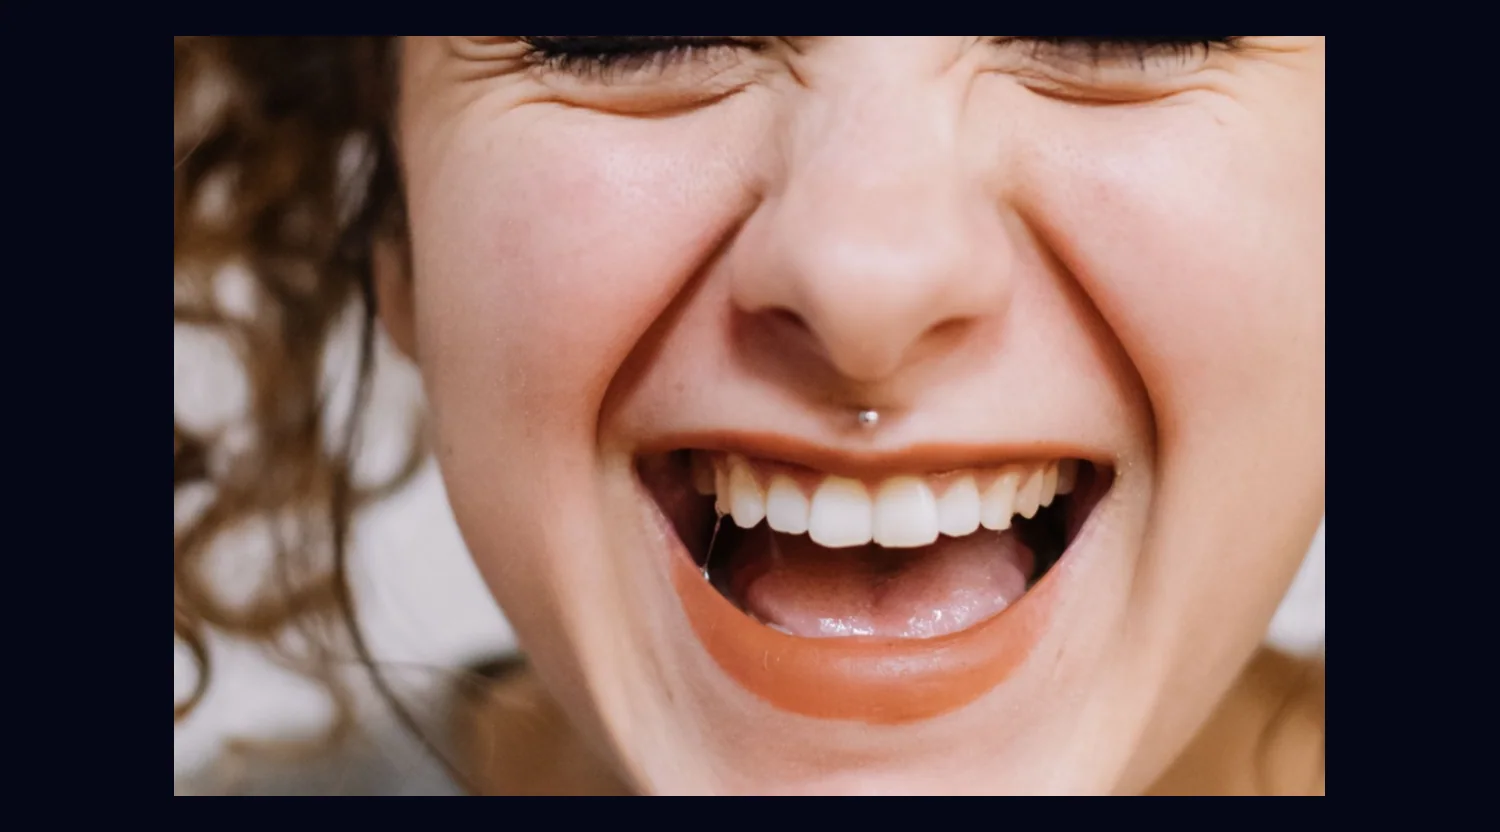
Open the photo and zoom in until the teeth fill a good part of the screen. Hold Ctrl and scroll the mouse wheel with the pointer over the mouth, or use the zoom buttons at the top. This stock photo is from Pexels. The teeth are a warm ivory, which is typical for natural teeth in warm light.
#2. Add an adjustment layer and take some warmth out
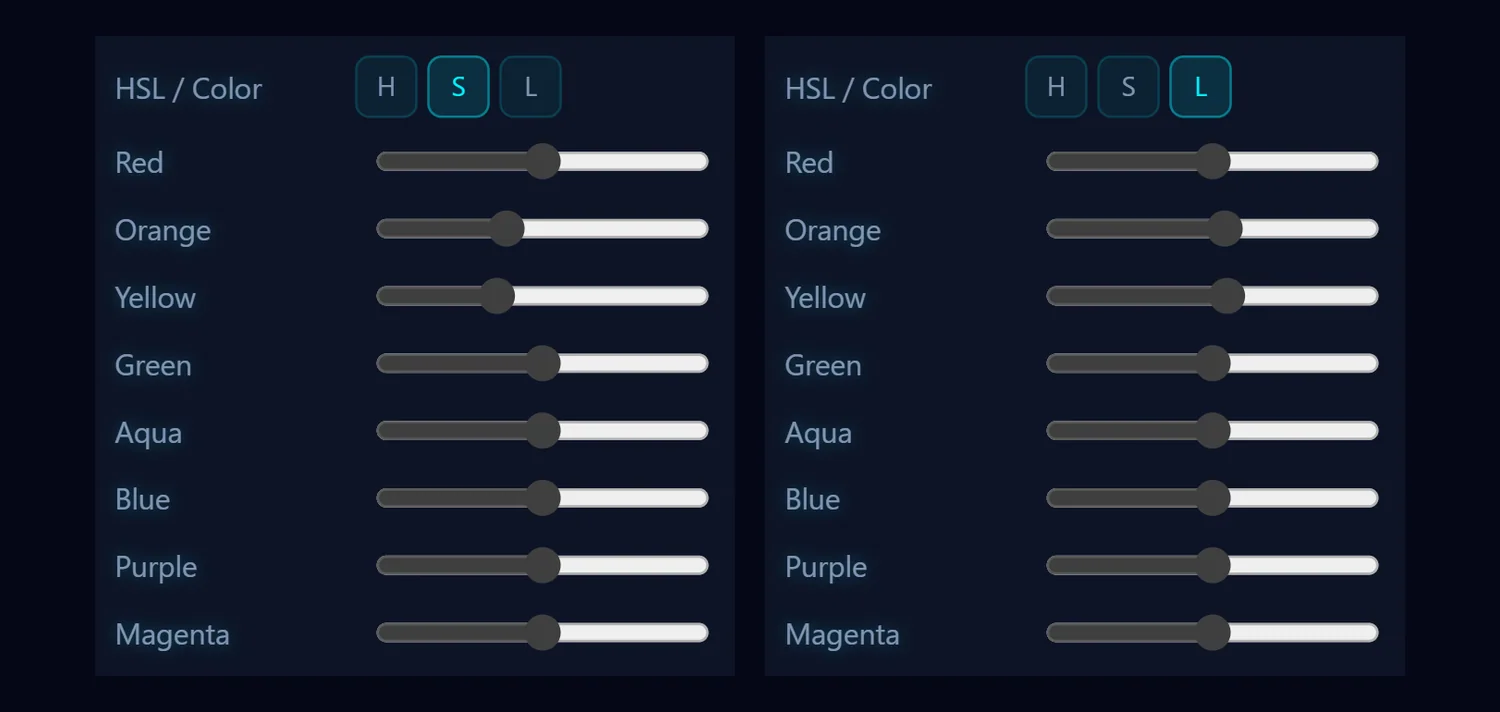
Choose Layer > New Adjustment Layer…. In the HSL / Color section, click S for saturation and drag Orange to about -25 and Yellow to about -30. Teeth sit somewhere between those two colors, so you lower both. Then click L for luminance and raise Orange to about 8 and Yellow to about 10. Click Close. Keep these numbers small. The saturation sliders remove that much color outright, and pale teeth don't have much to spare. Go past -40 and they turn gray and then bluish.
#3. Add a layer mask
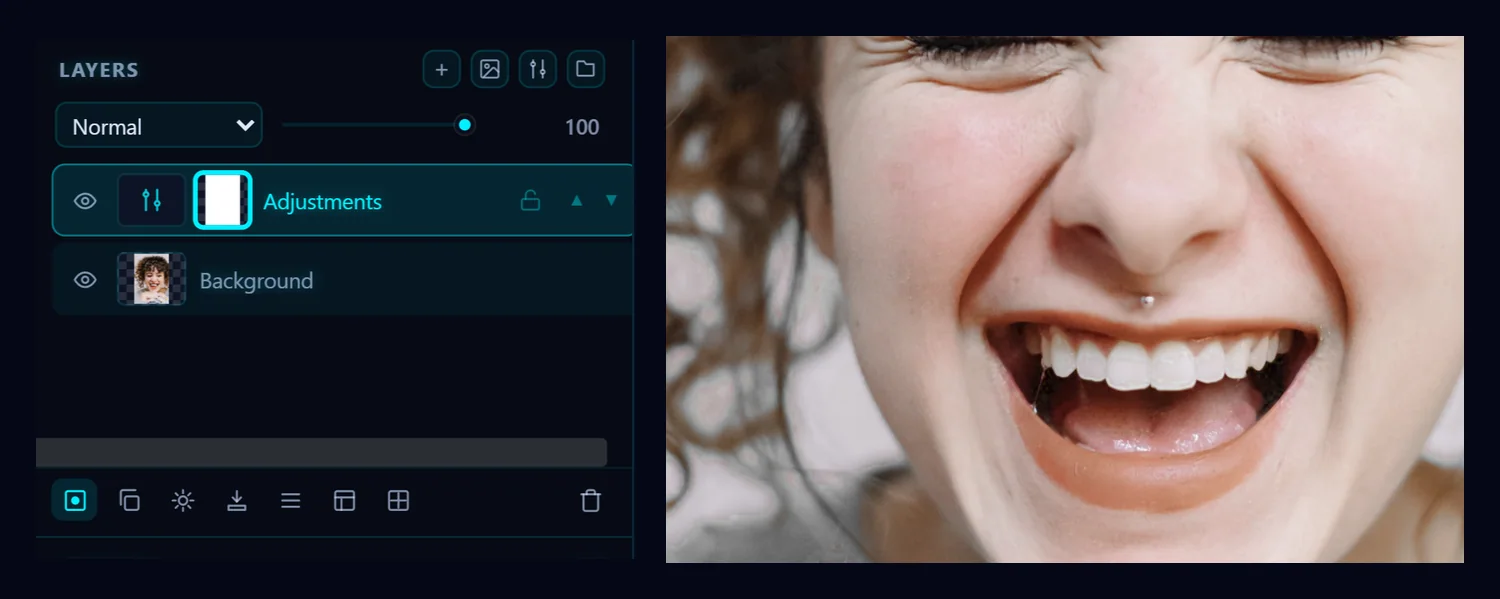
With the Adjustments layer selected, choose Layer > Add Layer Mask. A white thumbnail appears beside the layer. White means the adjustment shows everywhere, so for now the skin and lips have changed slightly too. The next steps limit it to the teeth.
#4. Select only the teeth with the Magic Wand
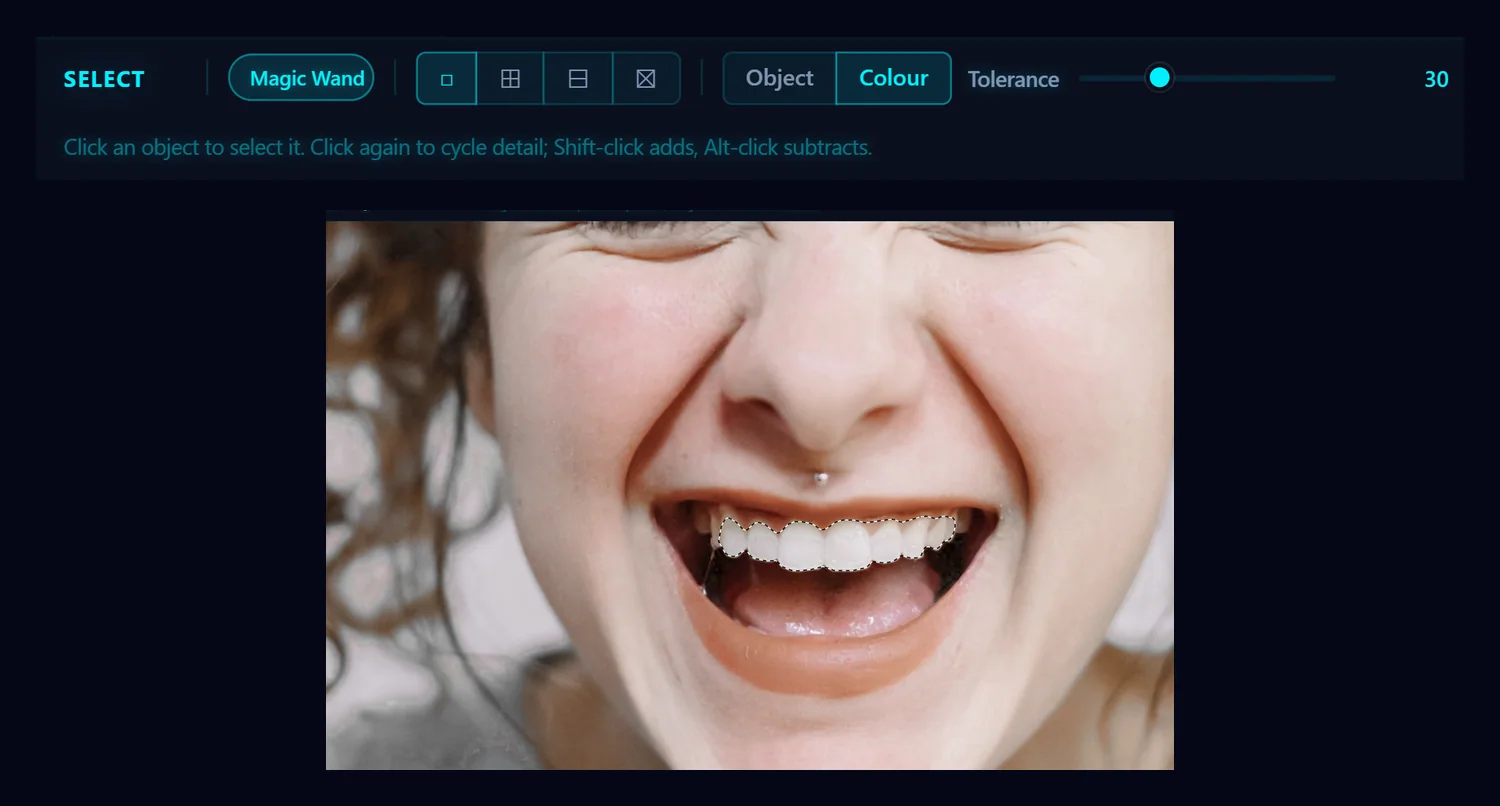
Hover over the Select tool and choose Magic Wand from the menu. In the options bar click Colour (not Object) and leave Tolerance at 30. Click one tooth. The selection spreads across the teeth that match and stops at the gum line and the lips. Shift-click a tooth to add it, and Alt-click to take an area away. Do this after you add the mask, because creating an adjustment layer clears any selection you had.
#5. Invert the selection and delete it from the mask
Choose Edit > Invert (Ctrl+Shift+I) so that everything except the teeth is selected, then click Delete Selection in the options bar. The mask is the thing being edited, so this hides the adjustment everywhere outside the teeth and deletes nothing from the photo. Click Clear to remove the dotted line. The gums, lips and skin are back to their original color.
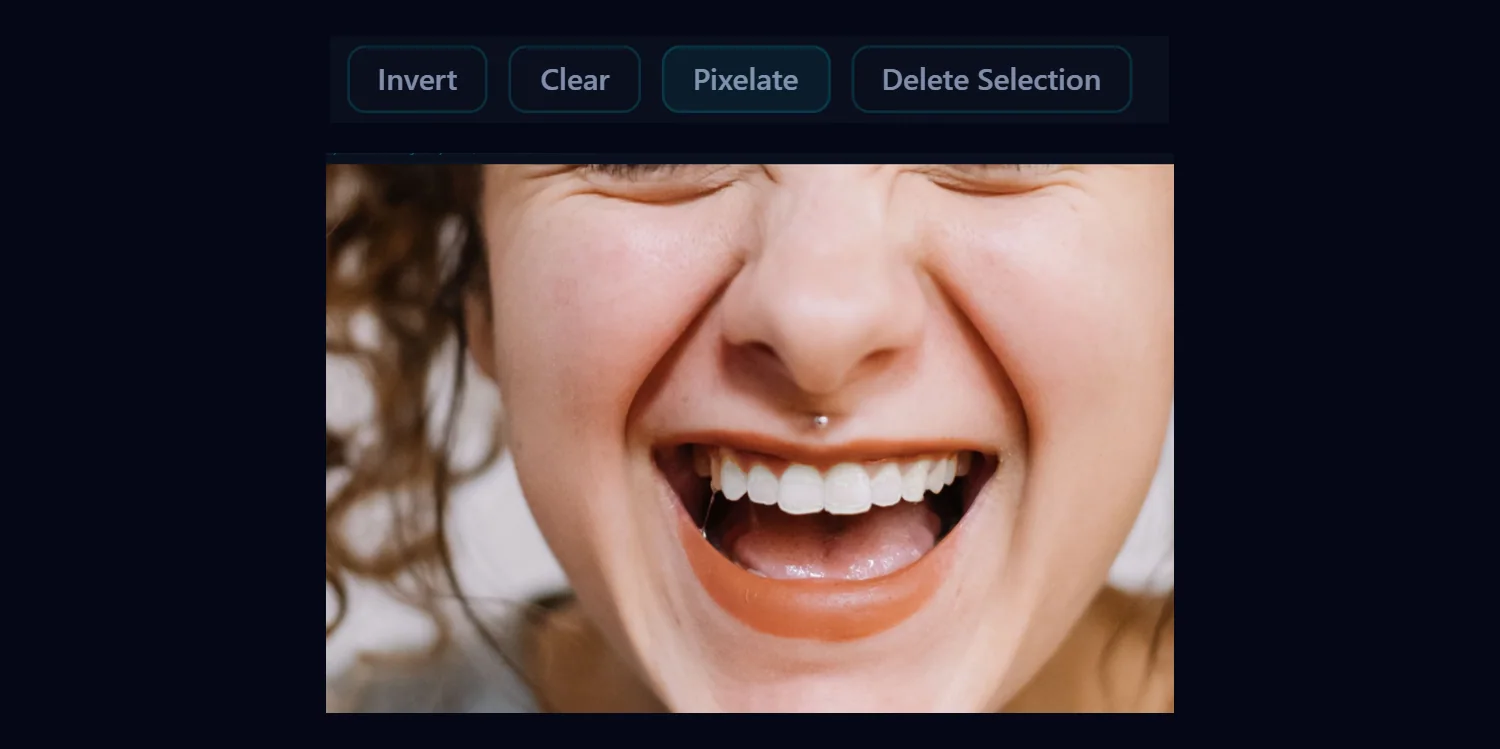
#6. Compare before and after
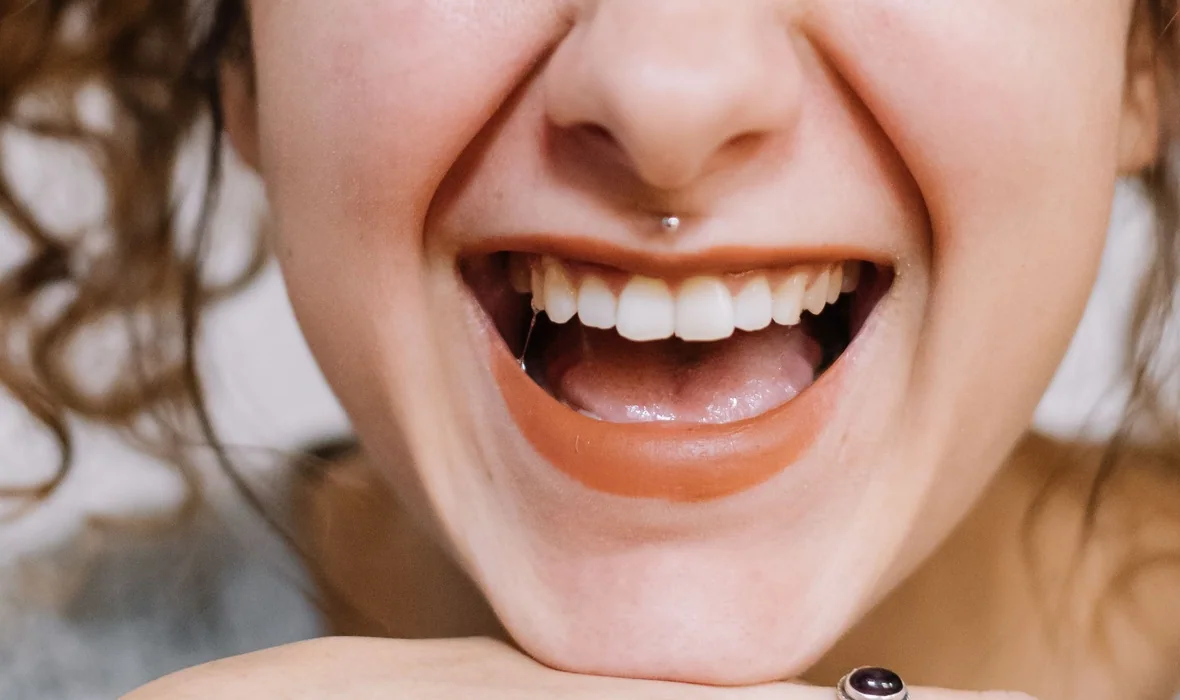
Drag the slider to compare. The teeth are cleaner and brighter, and nothing else has changed. If it looks too strong, lower the Adjustments layer's opacity slider in the Layers panel.
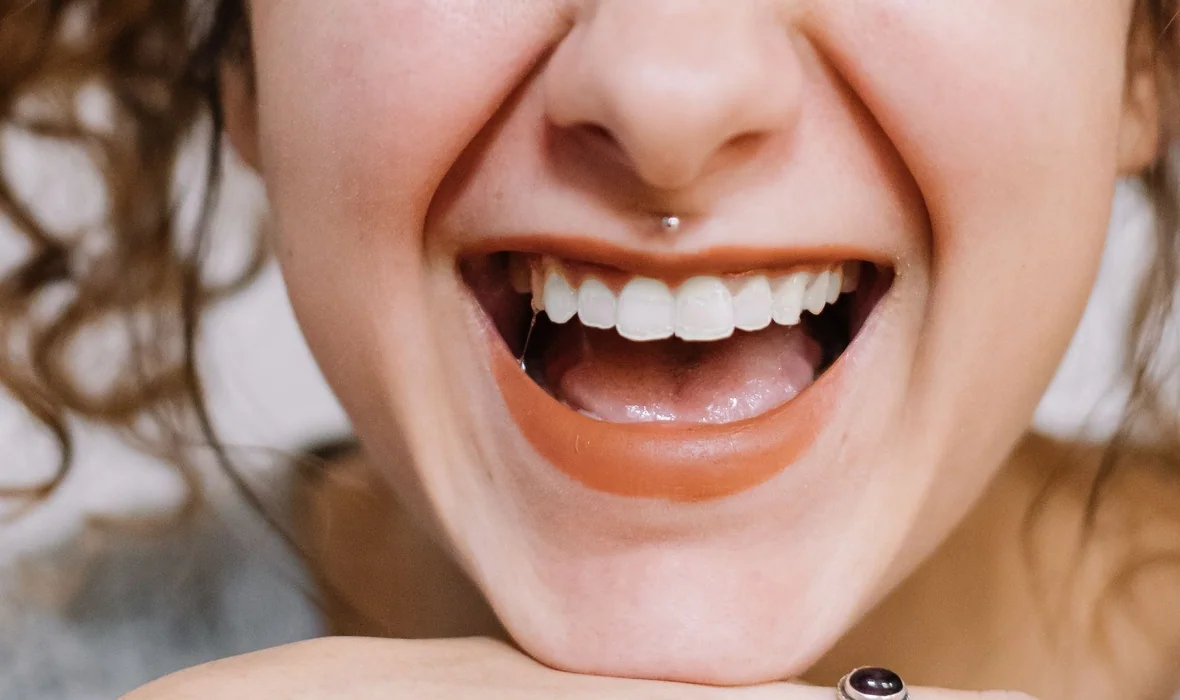 BeforeAfter
#Tips
- Stop before the teeth look white. Pure white teeth look fake, so lowering the layer's opacity is an easy way to back off.
- If the gums or lips change color, the selection leaked. Undo it, lower Tolerance (it was fine at 30 here, and at 42 the selection spread onto the lips and skin), and click the tooth again.
- If a stained patch near the gum line is left out, Shift-click it to add it.
- The Lasso works too. Draw a loose outline, but you'll have to stay inside the gum line by hand, which is why the Magic Wand is quicker.
- This removes yellow. It can't fix teeth that are dark, missing or out of focus.
#Questions
- How do I whiten teeth in a photo without making them look fake?
- Use small changes and stop before the teeth turn pure white. Lower the orange and yellow saturation only a little, raise their luminance slightly, and reduce the layer's opacity if it still looks too strong.
- Why did the gums or lips change color?
- The selection spread onto them. The HSL sliders work on a color range across the whole picture, and gums, lips and skin sit in the same orange range as teeth, so the mask is what keeps the change on the teeth. Lower the Magic Wand tolerance and select again.
- Does this change my original photo?
- No. The adjustment is its own layer, so you can hide or delete it at any time. Use Save as Copy to export the result and leave the original file alone.
About the photo editor · Pricing · Download Pluto Photos · Contact support