
How to Use Adjustment Layers for Non-Destructive Color and Tone Edits
Choose Layer > New Adjustment Layer…, set Exposure, Contrast, Temperature and the other sliders in the dialog, then click Close. The edit lives on its own layer, so the photo underneath is untouched.
Requires Pluto Photos Pro (one-time $29, no subscription). The free download includes a 30-day trial of every Pro feature.
#1. Open a photo and choose New Adjustment Layer
Open the photo. This silhouette is a little flat. Choose Layer > New Adjustment Layer….
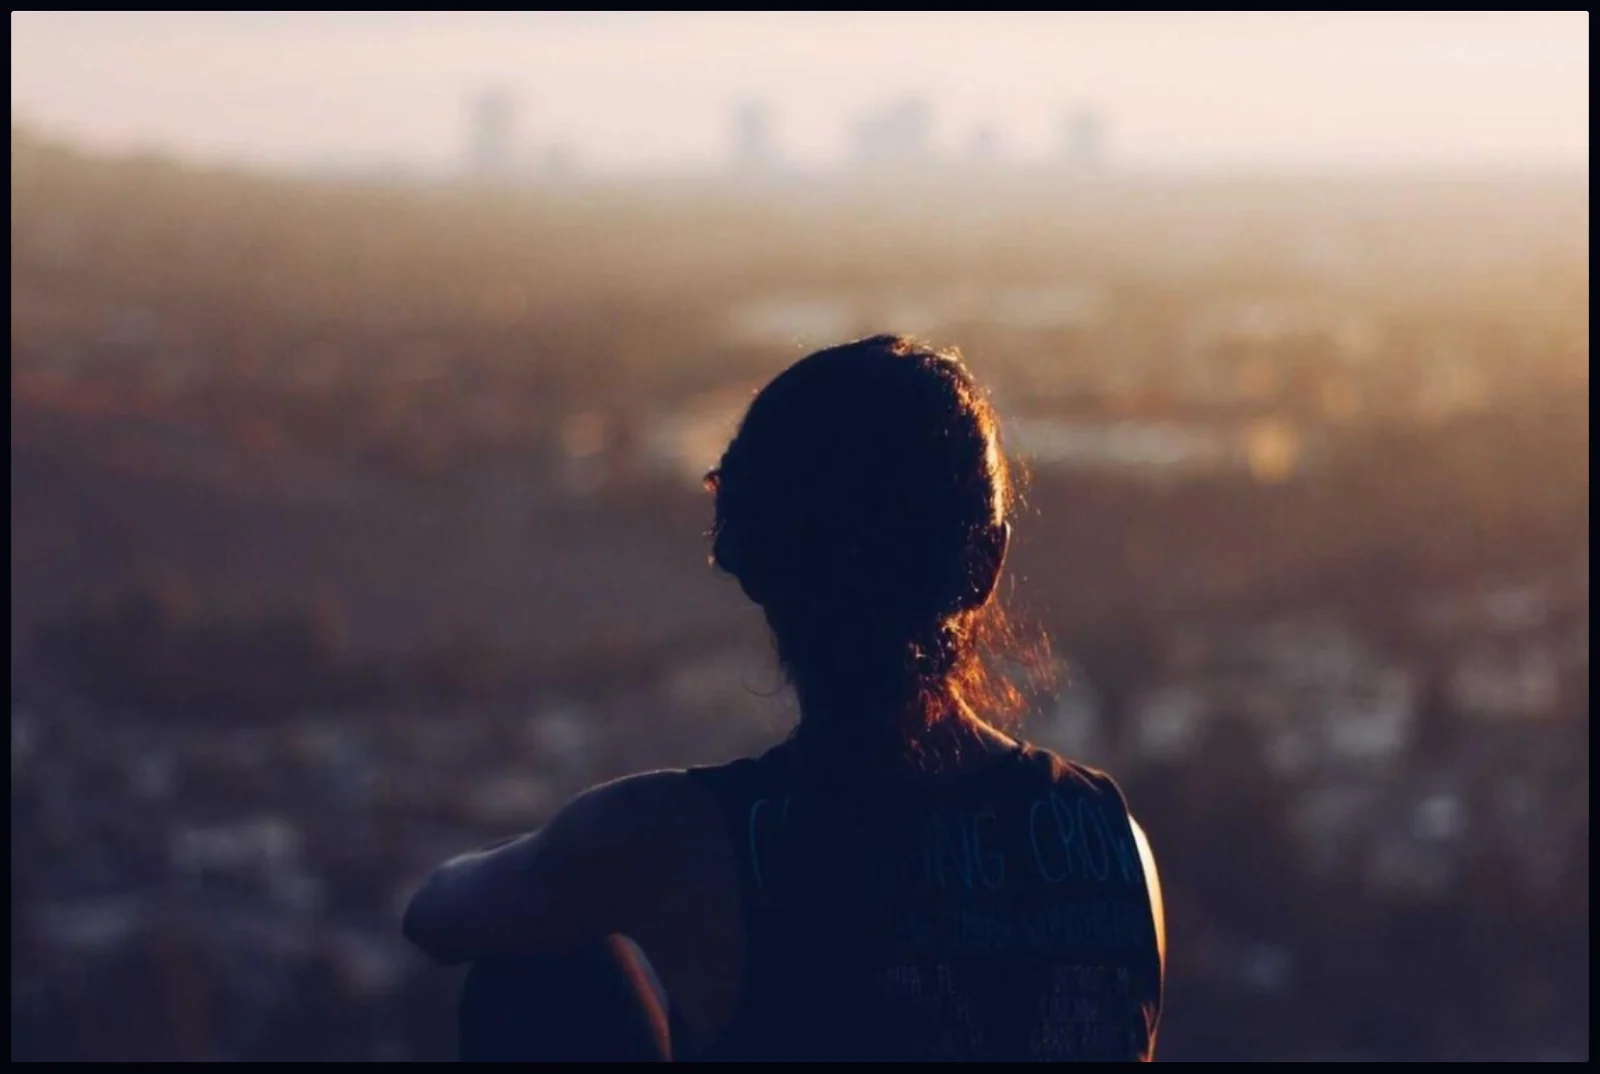
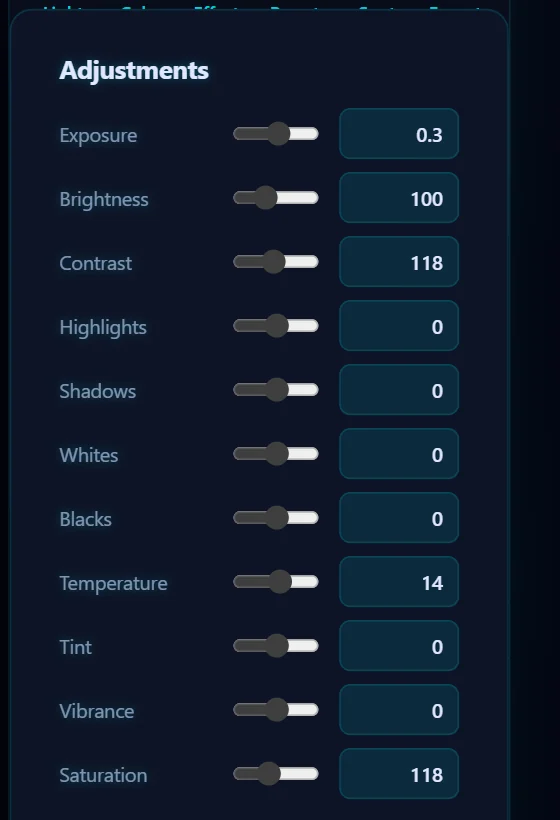
#2. Set the sliders in the Adjustments dialog
The Adjustments dialog has the same controls as the Light and Color tabs: Exposure, Brightness, Contrast, Highlights, Shadows, Whites, Blacks, Temperature, Tint, Vibrance and Saturation, plus an HSL / Color mixer. Here Exposure is +0.3, Contrast is 118, Temperature is +14 and Saturation is 118.
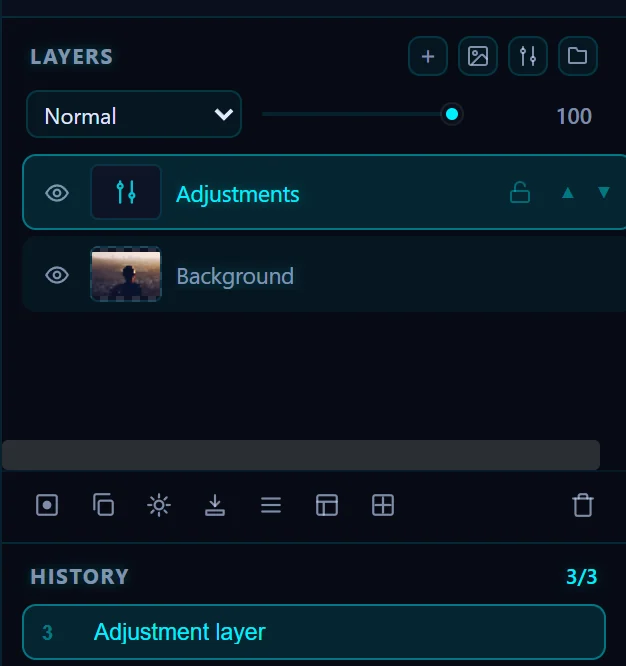
#3. Click Close and look at the Layers panel
Click Close. A new layer called Adjustments is stacked above the photo, and History shows New adjustment layer. Hide it with the eye to see the original, lower its opacity to soften it, or delete it to undo the whole edit.
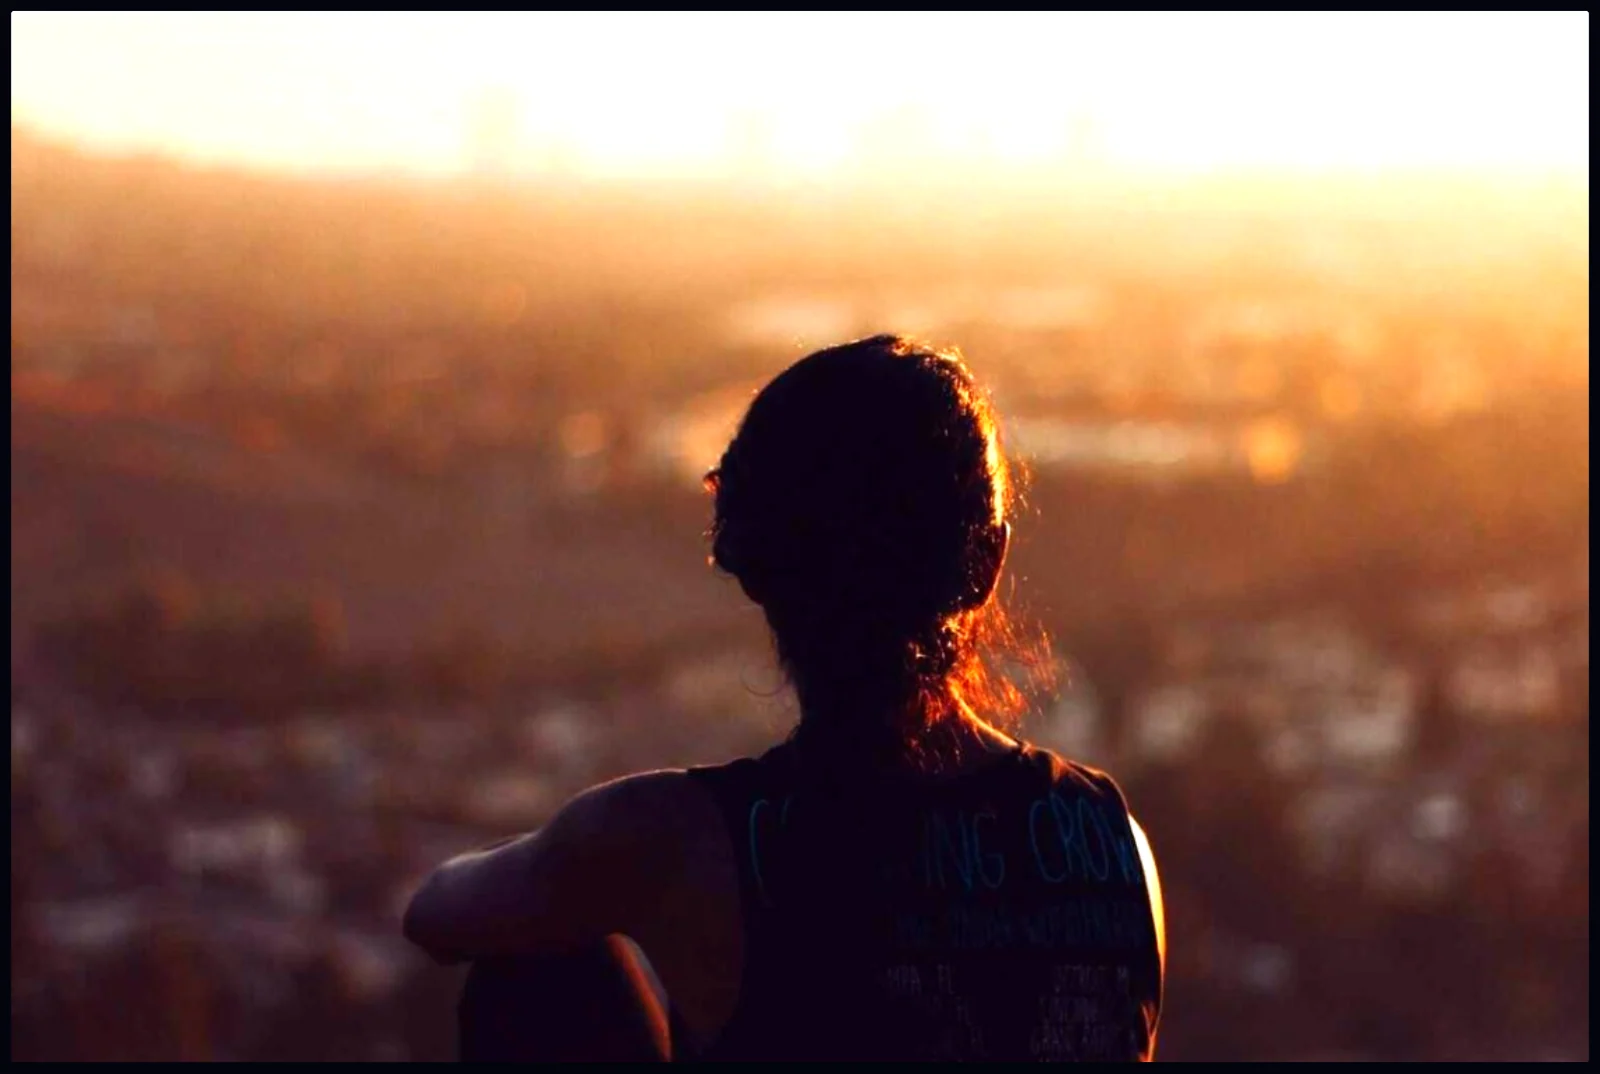
#4. Compare the result
The sky glows warmer and the figure has more depth. The original pixels in the Background layer haven't changed.
#Tips
- You can stack several. Putting exposure on one layer and color on another keeps each edit easy to change.
- To limit an adjustment to part of the photo, add a layer mask to the adjustment layer.
- Save as a project (File > Save Project) if you want to keep editing later.
#Questions
- What is an adjustment layer?
- It is a layer that applies color and tone changes to the layers below it without changing their pixels, so you can switch it off or delete it.
- How is it different from the Light tab?
- The Light and Color tabs edit the whole photo directly. An adjustment layer keeps the edit separate, so you can have several and change each one.
About the photo editor · Pricing · Download Pluto Photos · Contact support