
How to Make a Photo Collage for a Social Media Post
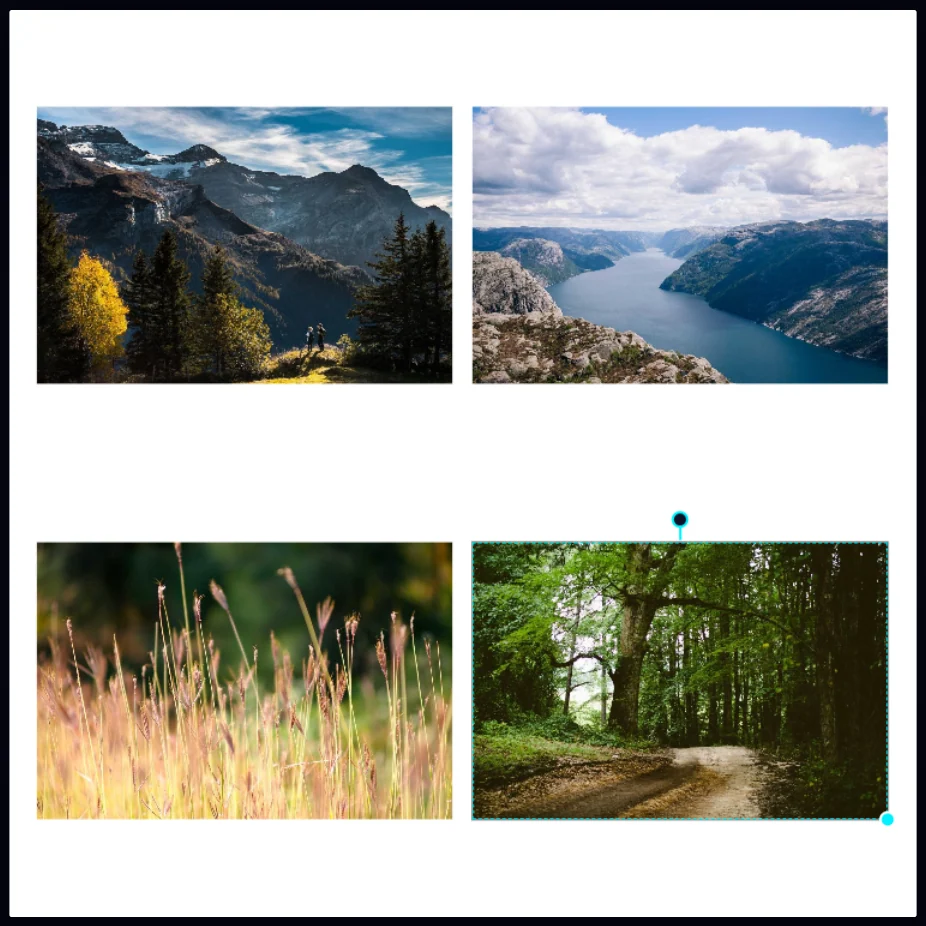
Create a 1080×1080 white document, then use File > Place Image… for each photo, resize it with the corner handle and drag it into its corner. Each photo stays its own layer so you can keep adjusting.
Requires Pluto Photos Pro (one-time $29, no subscription). The free download includes a 30-day trial of every Pro feature.
#1. Create the canvas
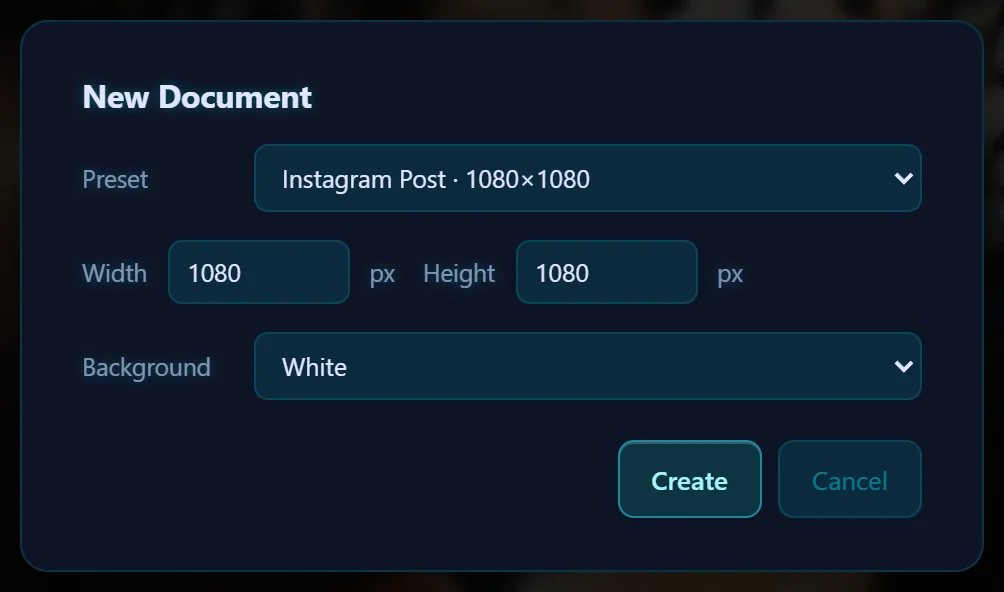
Choose File > New Document…, pick Instagram Post · 1080×1080 and a White background, and click Create.
#2. Place the first photo
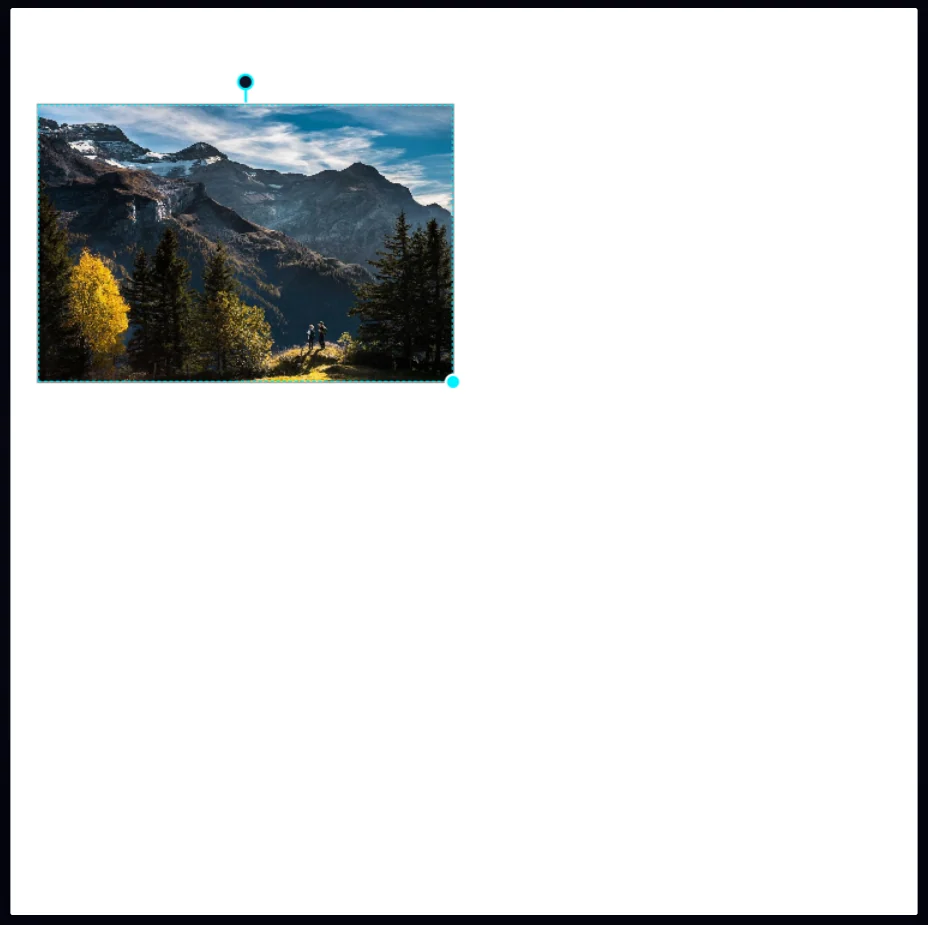
Choose File > Place Image… and select a photo. It arrives as a layer with a frame. Drag the corner handle to make it smaller, then drag inside the frame to move it into the top left corner.
#3. Place the rest
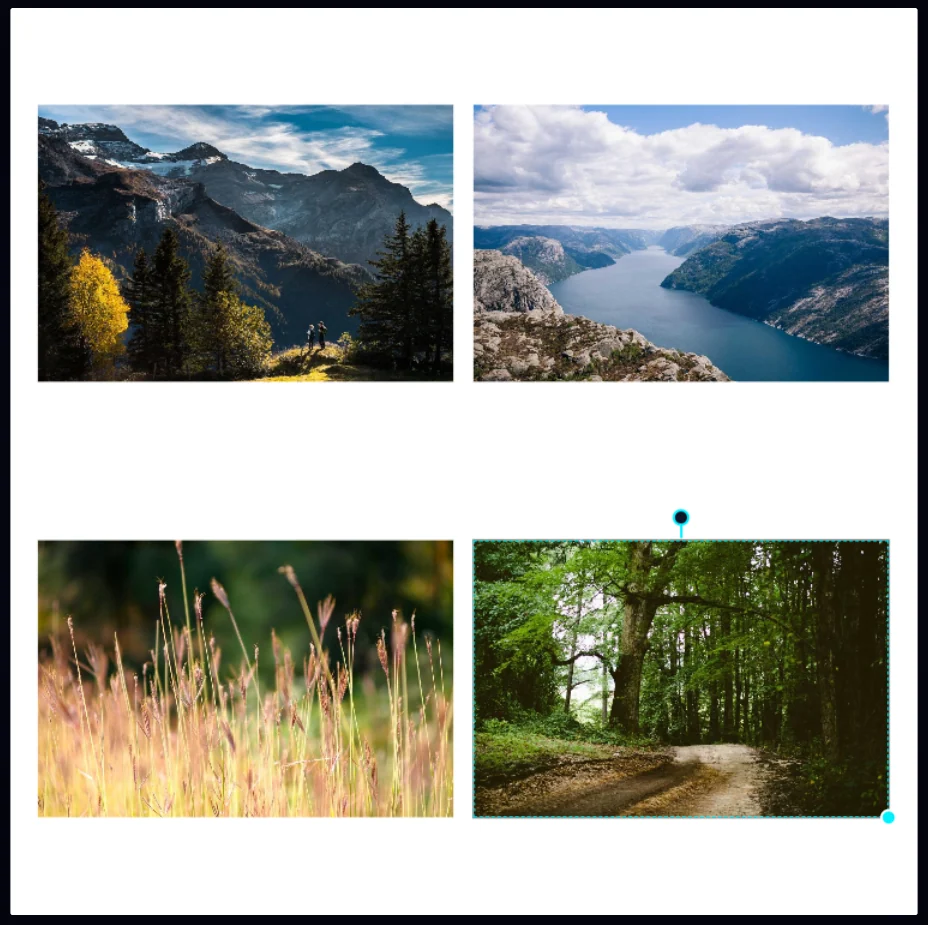
Repeat for each photo. Pick photos with similar brightness and color so the set looks like one image. Leave a thin white gap between them, or let them touch for a seamless grid.
#4. Adjust any one photo later
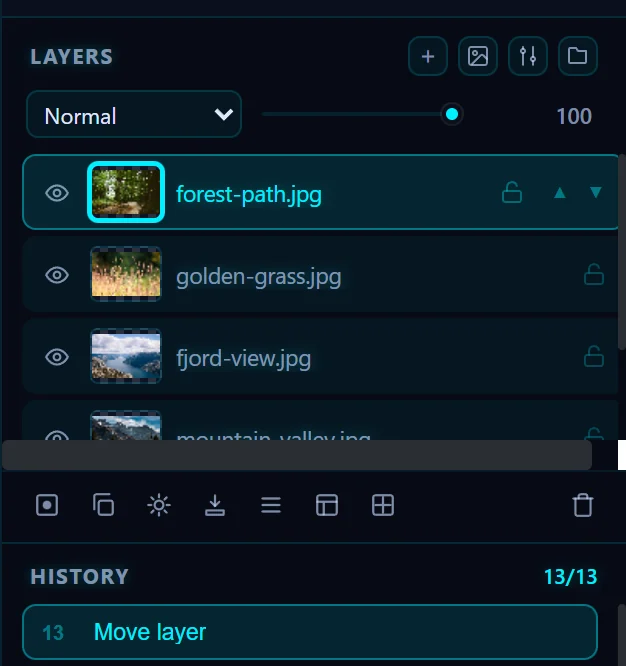
Every photo is its own layer in the Layers panel. You can select one and move it, resize it or lower its opacity without disturbing the others. See how to use layers.
#5. Save the collage
Click Save as Copy and save a JPEG for posting. To keep the layers editable, choose File > Save Project first.
#Tips
- If a photo is the wrong shape, crop it before you place it.
- Even gaps look intentional, so zoom in to check the spacing.
#Questions
- How do I put several photos in one picture?
- Create a new document, then use File > Place Image… for each photo and arrange them as layers.
- Can I move a photo after placing it?
- Yes. Each photo is a layer, so select it in the Layers panel and drag it.
About the photo editor · Pricing · Download Pluto Photos · Contact support