
How to Use the Filter Gallery (Oil Paint, Blur, Sketch and 50+ More)
Choose Filter > Filter Gallery (Ctrl+Alt+F) to see every filter previewed on your photo, click one to open its settings, then Apply. Use Fade Filter (Ctrl+Shift+F) to mix it back.
Requires Pluto Photos Pro (one-time $29, no subscription). The free download includes a 30-day trial of every Pro feature.
#1. Open the Filter Gallery
Open a photo and choose Filter > Filter Gallery… (Ctrl+Alt+F). The gallery builds a thumbnail of every filter using your own photo. A Whole image badge shows (or Selection only if you have a selection), so you can see what each filter will do.
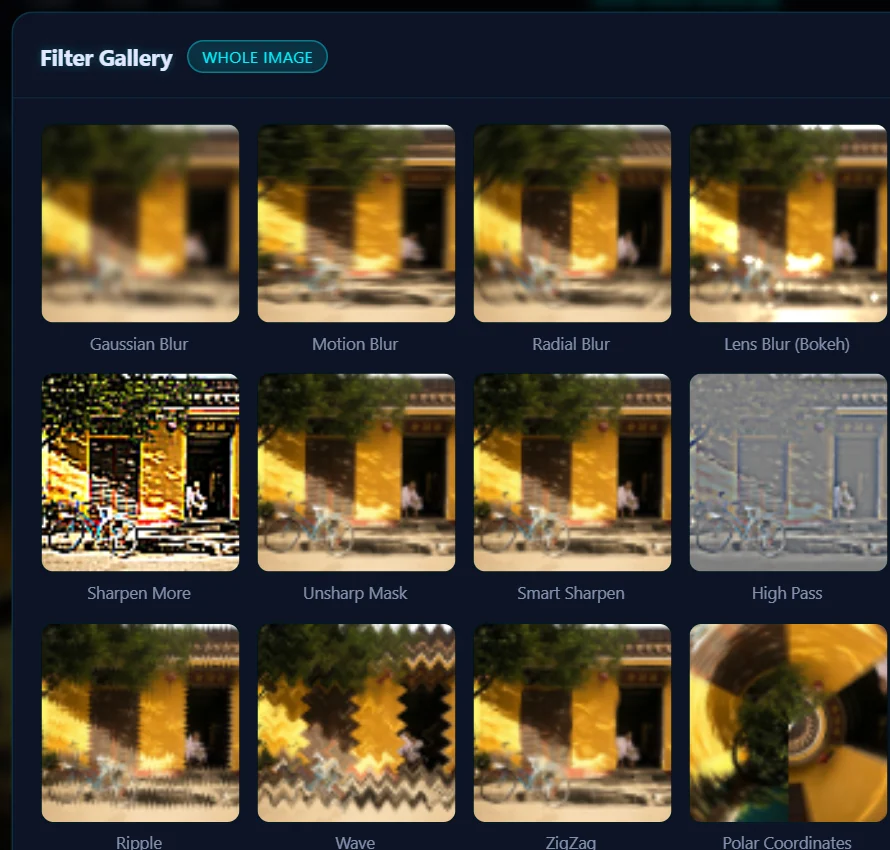
#2. Click a filter
Click the one you like. Here it's Oil Paint. Its dialog opens with sliders for the filter, an Opacity control and a Blend mode. A Detail pane shows the effect at actual pixels. Tick Preview to see it on the photo as you adjust.
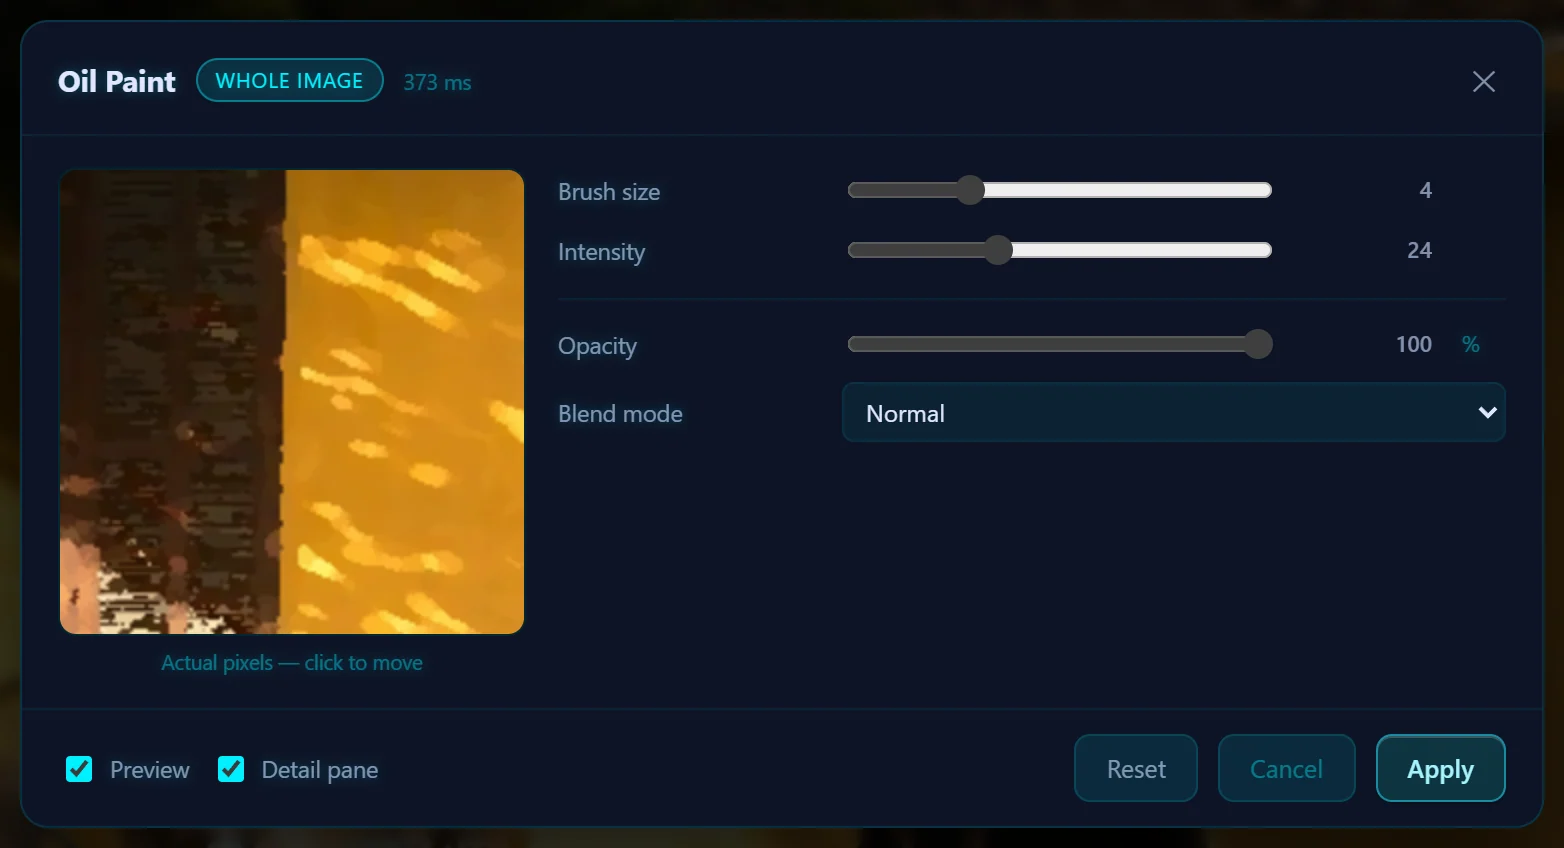
#3. Click Apply
Click Apply to commit the filter. It goes into History as Filter: Oil Paint.
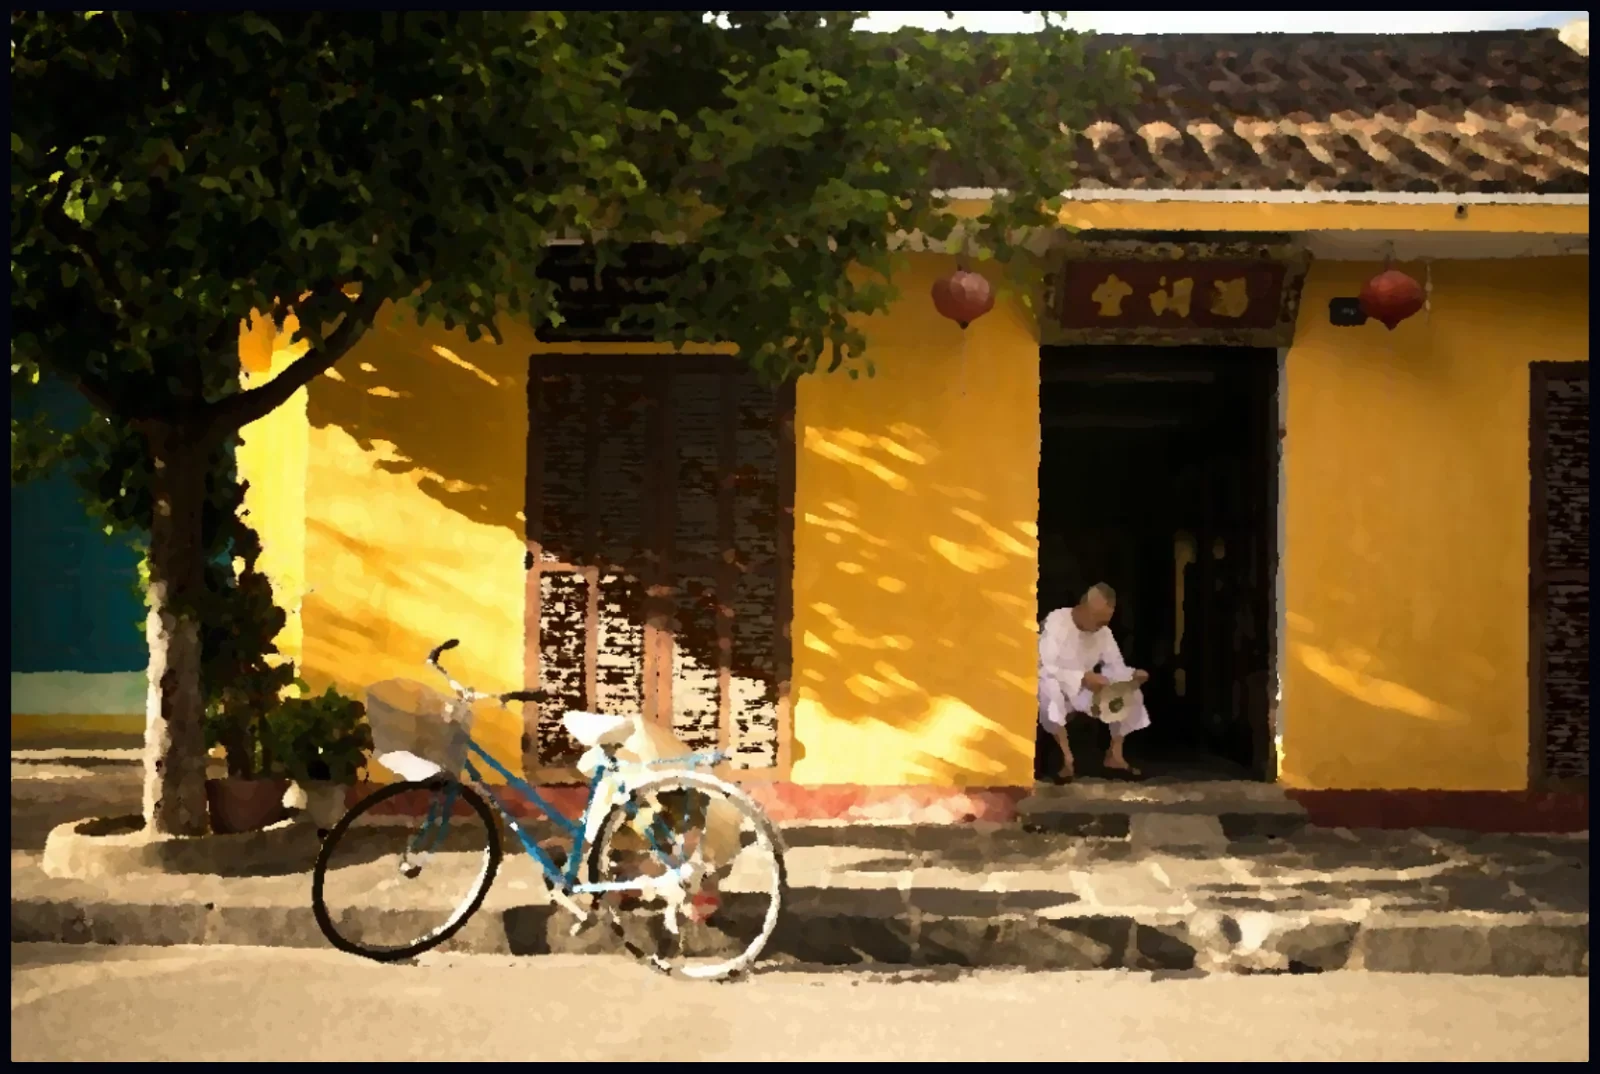
#4. Fade or repeat the filter
Filter > Fade Filter… (Ctrl+Shift+F) mixes a filter you just applied back with the original. Filter > Last Filter (Ctrl+F) runs the same filter again with the same settings.
#Tips
- The Filter menu also lists filters by group: Blur, Sharpen, Distort, Noise, Pixelate, Stylize, Artistic, Light & Glow, Photo, Render and Other.
- To limit a filter to part of the photo, select that part first.
- A filter won't rescue a badly exposed photo. Correct the light and color first, then add effects.
#Questions
- How many filters does the photo editor have?
- The Pluto Photos editor has 57 filters in eleven groups, and the Filter Gallery previews them on your own photo.
- Can I apply a filter to just part of a photo?
- Yes. Make a selection first and the filter will only change that area.
About the photo editor · Pricing · Download Pluto Photos · Contact support