
How to Select Part of a Photo and Apply an Effect to Just That Area
Pick a Select shape (Rectangle, Ellipse, Lasso, Magnetic Lasso or Magic Wand), drag on the photo, choose Edit > Invert if you want the opposite area, then run a filter. The filter affects only the selection.
Requires Pluto Photos Pro (one-time $29, no subscription). The free download includes a 30-day trial of every Pro feature.
#1. Pick a selection shape
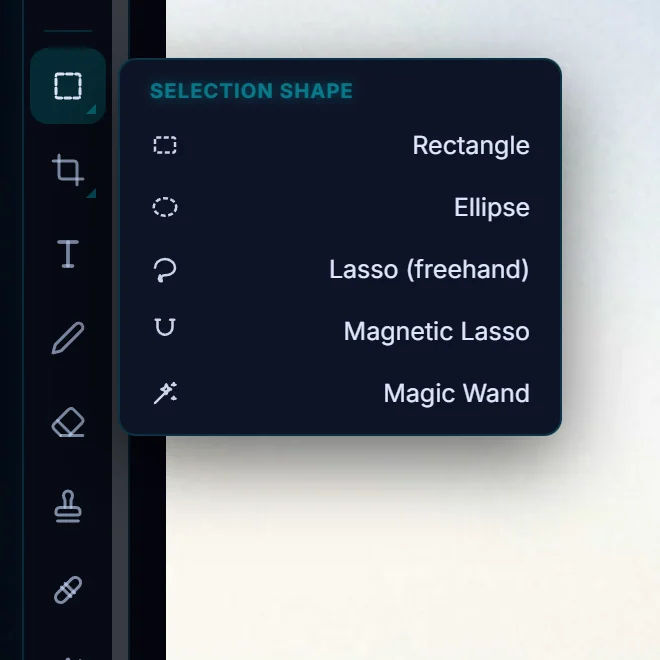
Hover over the Select tool (M) in the toolbar to open the Selection shape menu: Rectangle, Ellipse, Lasso (freehand), Magnetic Lasso and Magic Wand. Rectangle and Ellipse are the quickest. Lasso draws freehand, Magnetic Lasso snaps to edges as you trace, and Magic Wand selects areas of similar color.
#2. Drag to select
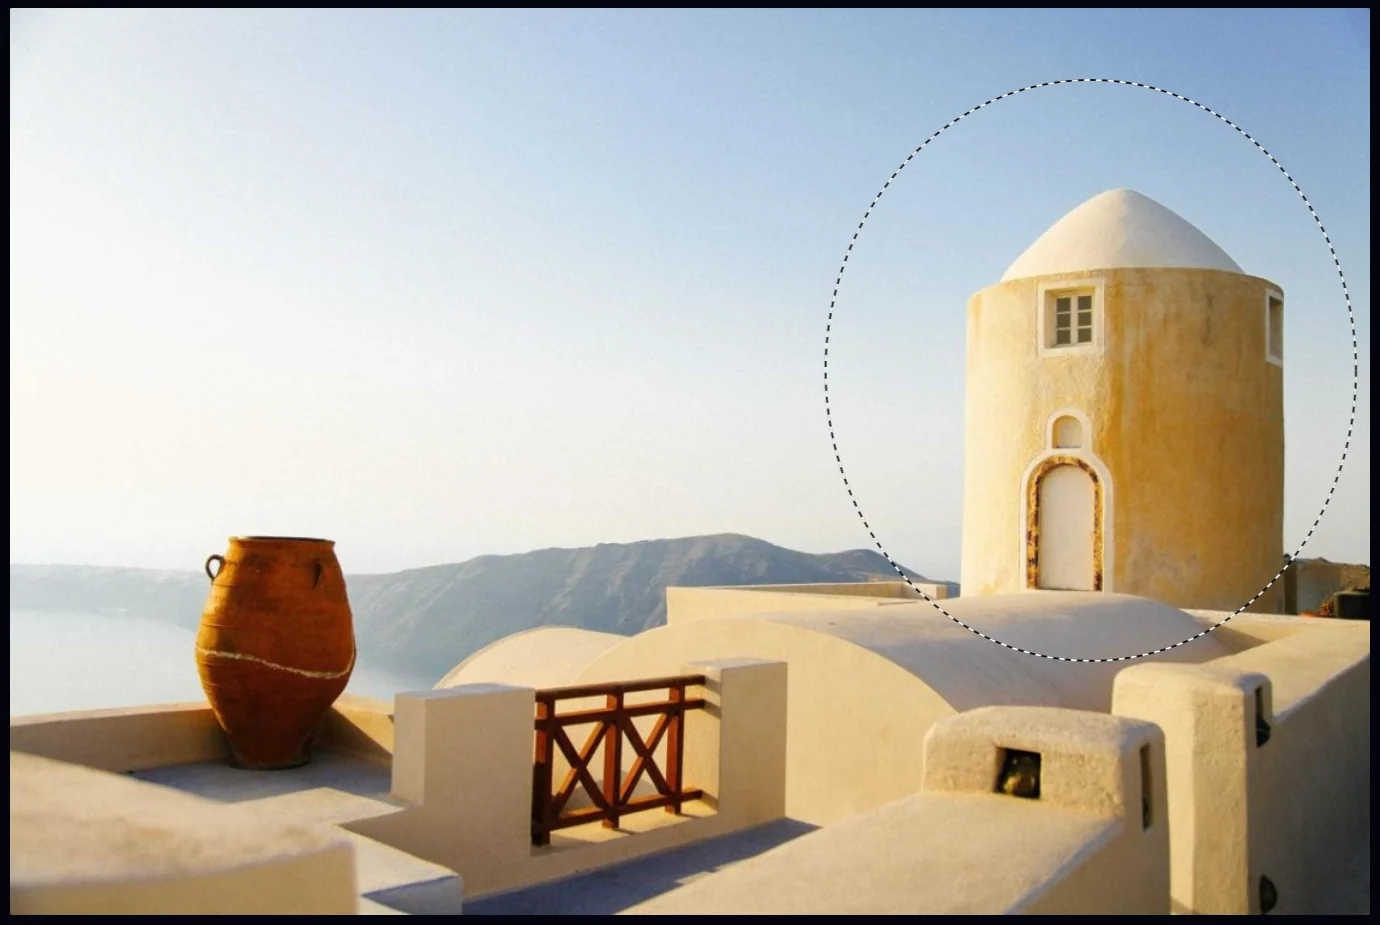
Drag across the area. A moving dotted line (often called marching ants) shows the edge of the selection, and the options bar shows its size in pixels. This ellipse covers the white tower.
#3. Invert the selection if you want the opposite
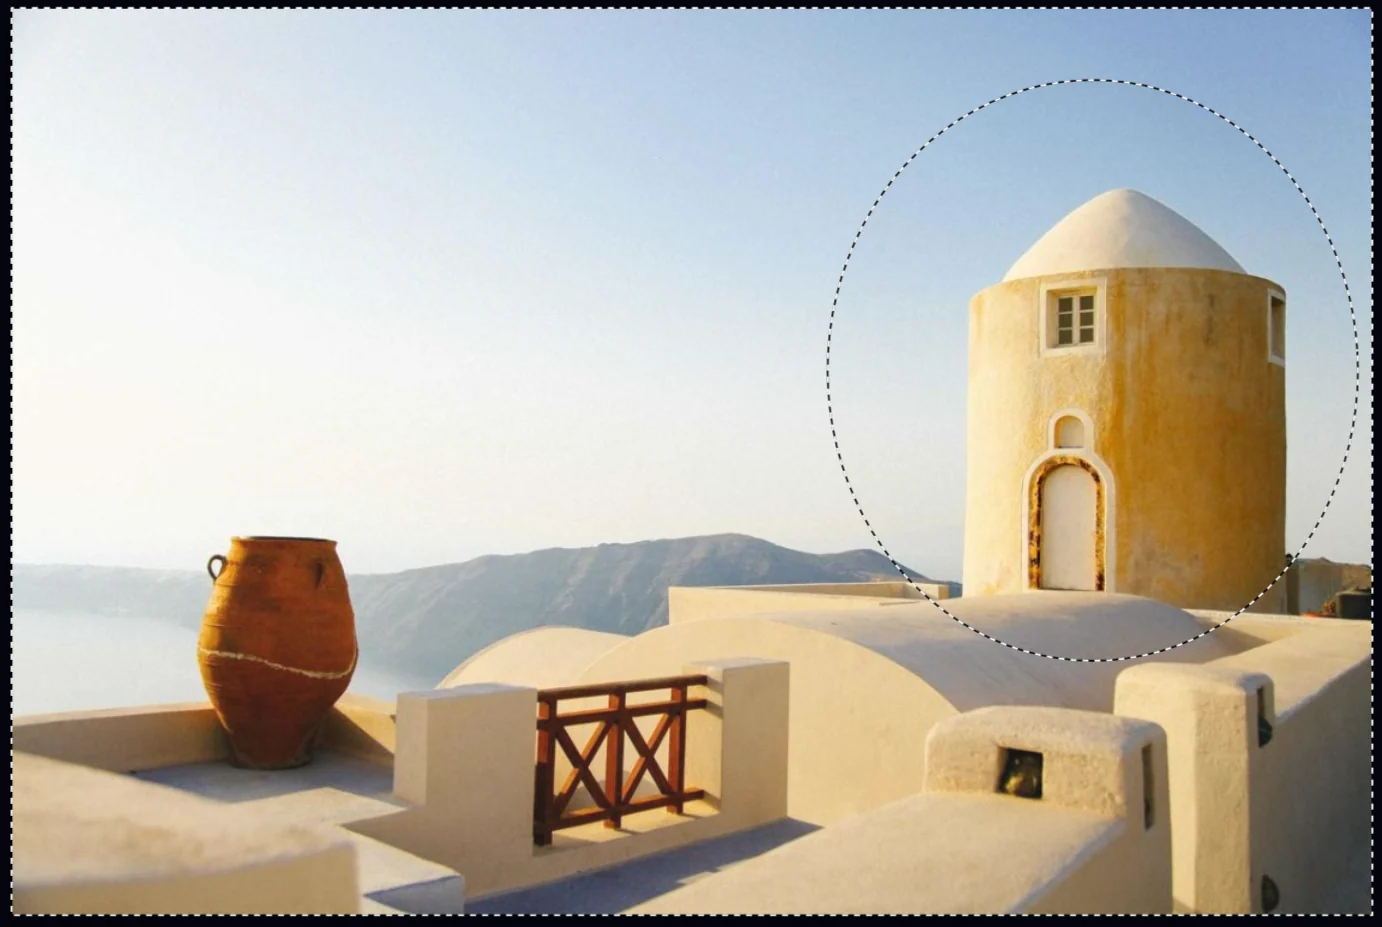
To work on everything except the tower, choose Edit > Invert (Ctrl+Shift+I). The dotted line now runs around the whole photo as well. When you're done, Edit > Clear (Ctrl+D) removes the selection.
#4. Open a filter from the Filter menu
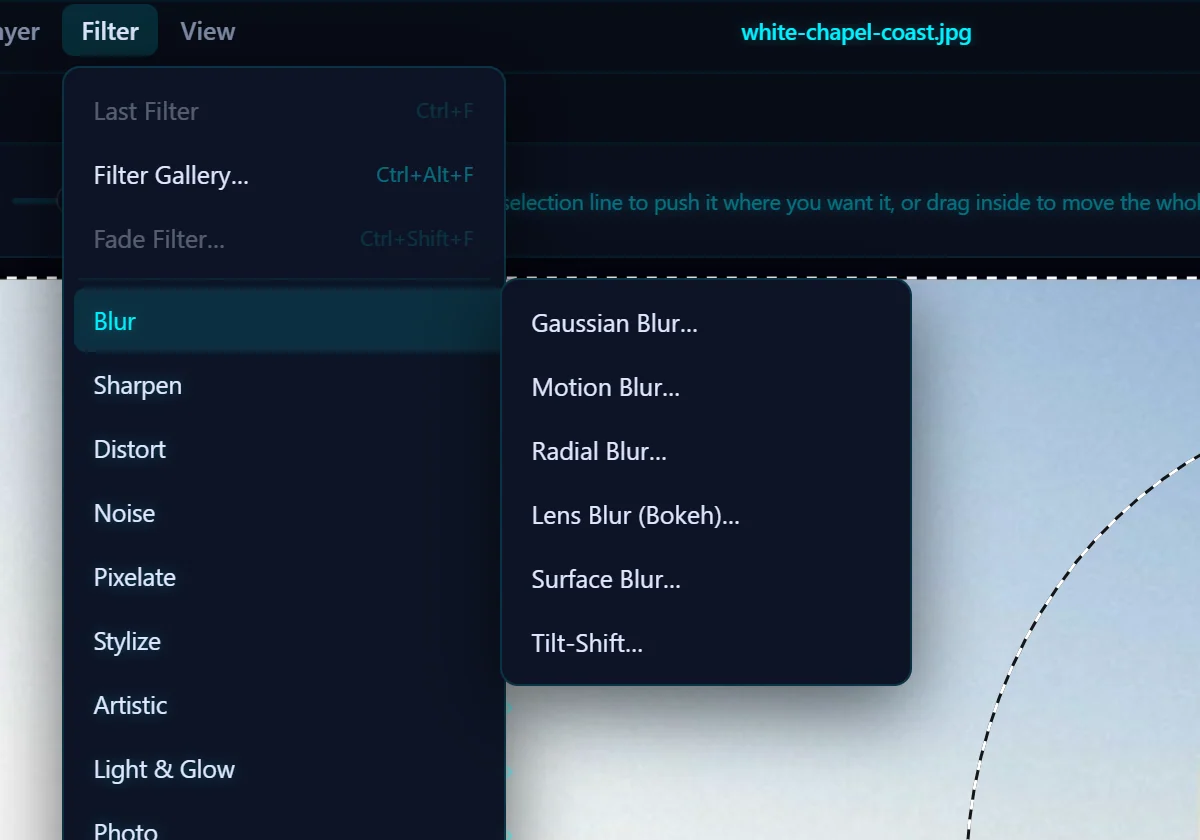
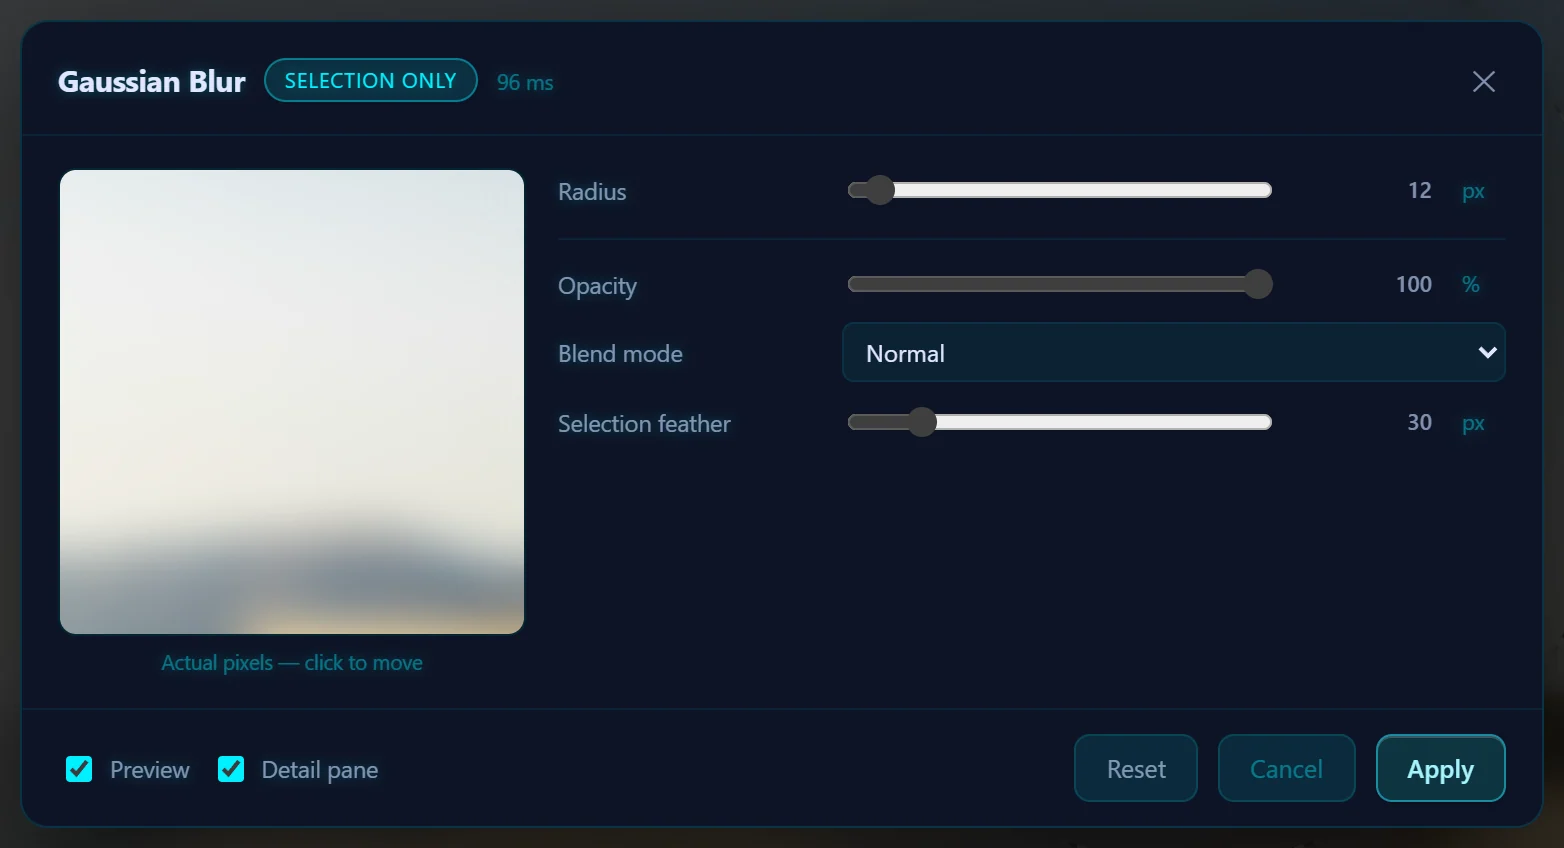
Choose Filter > Blur > Gaussian Blur…. The Filter menu has eleven groups: Blur, Sharpen, Distort, Noise, Pixelate, Stylize, Artistic, Light & Glow, Photo, Render and Other. When there is a selection, the dialog carries a Selection only badge.
#5. Set the radius and the selection feather
Radius sets how strong the effect is (12 px here). Selection feather softens the line between the changed and unchanged areas so the edit blends in (30 px here). Opacity and Blend mode let you mix the filter with the original. Tick Preview to watch the result live, then click Apply.
#6. Clear the selection and check the result
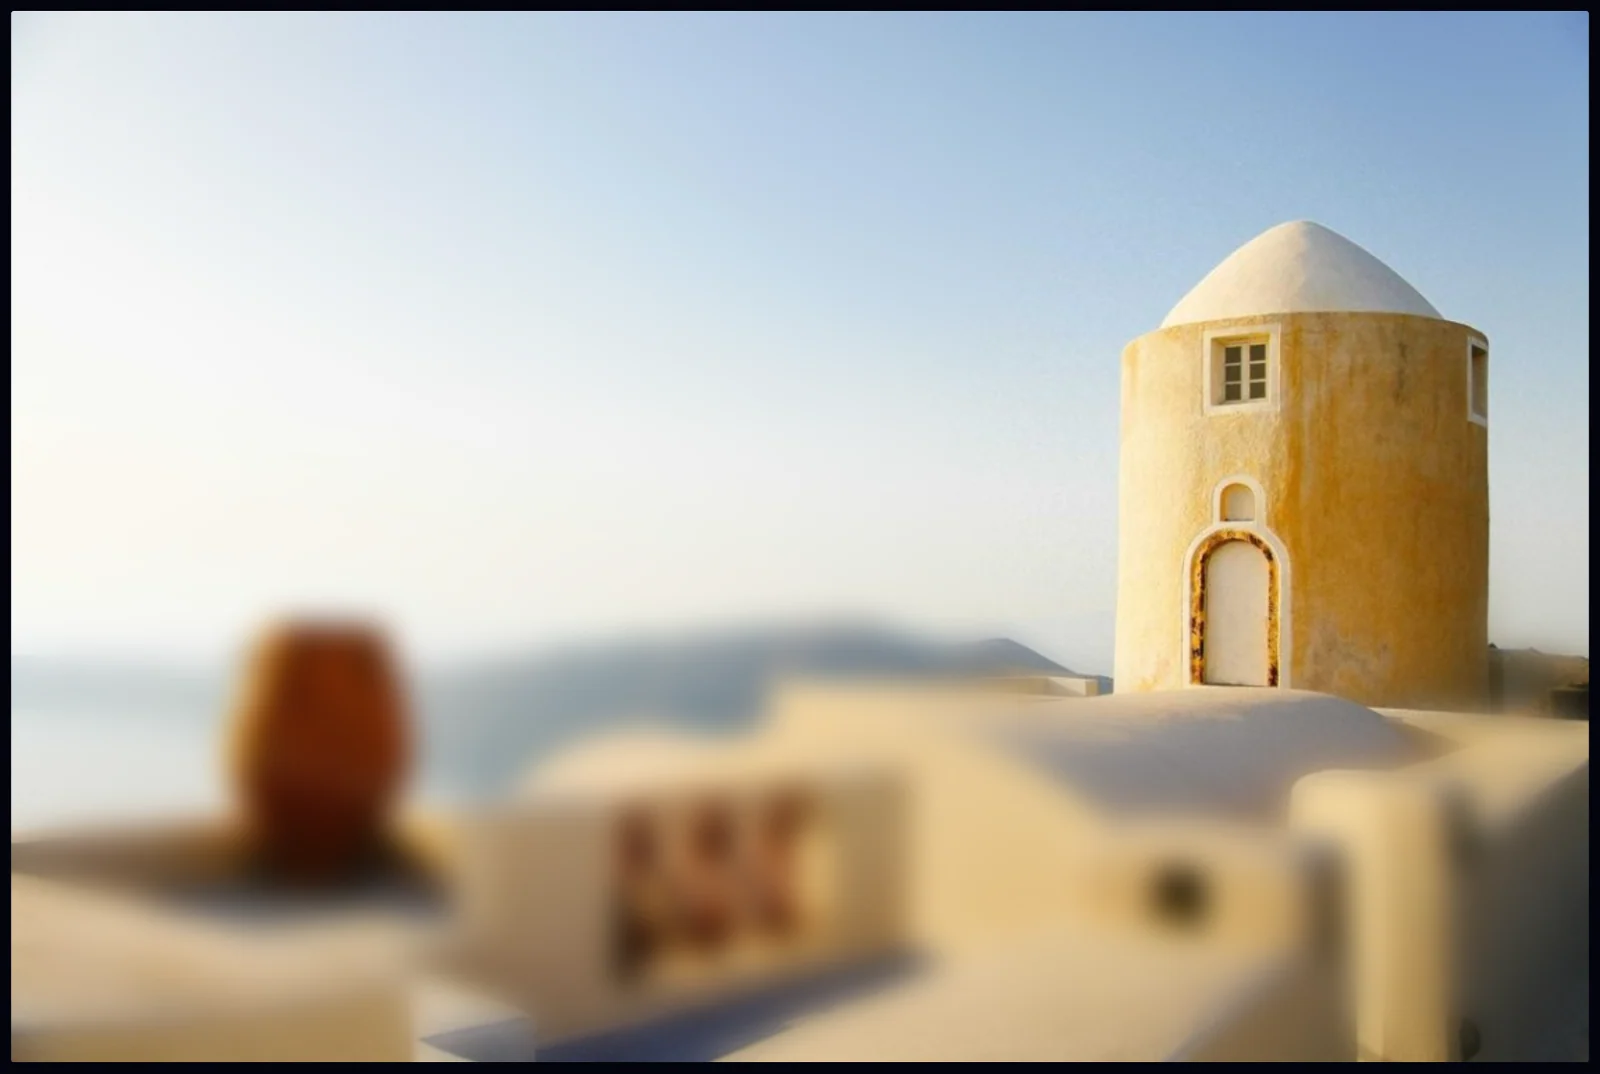
Choose Edit > Clear to remove the dotted line. The tower is sharp and everything around it is blurred, with a soft transition between the two.
#Tips
- Always use some feather. A hard-edged selection looks like a cut-out.
- If the effect is too strong, lower Opacity, or use Fade Filter (Ctrl+Shift+F) right after you apply it.
- Ctrl+F repeats the last filter.
#Questions
- How do I apply a filter to only part of a photo?
- Make a selection with the Select tool, then run the filter from the Filter menu. It only changes the area inside the selection.
- How do I select everything except one object?
- Select the object, then choose Edit > Invert.
- Which selection tool follows edges automatically?
- The Magnetic Lasso snaps to edges as you trace, and the Magic Wand selects areas of similar color in one click.
About the photo editor · Pricing · Download Pluto Photos · Contact support