
How to Convert a Photo to Black and White
Open the Presets tab and click B&W. Add Contrast in the Light tab for punch, or choose Noir for a darker, more dramatic look. Use Preset Amount to blend some color back in.
Requires Pluto Photos Pro (one-time $29, no subscription). The free download includes a 30-day trial of every Pro feature.
#1. Start with a photo that has strong light and shape
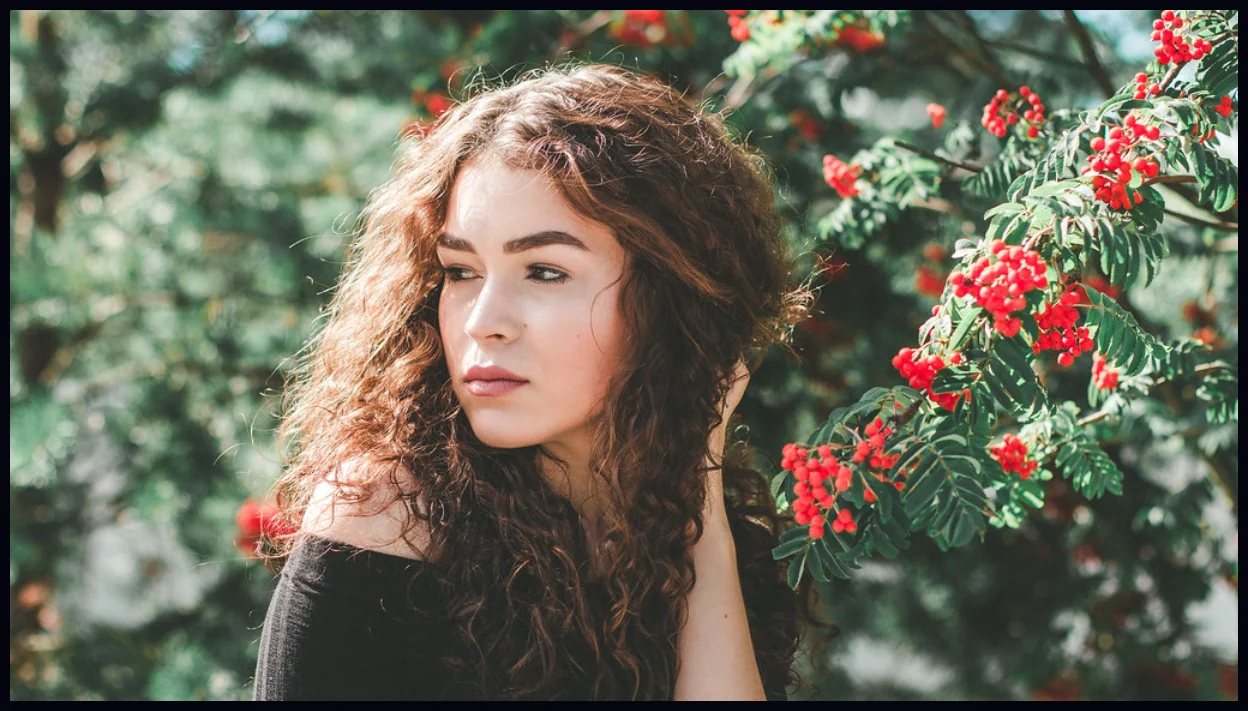
Black and white works best on a photo with clear contrast and texture. Portraits, architecture and landscapes all suit it. This portrait is the starting point.
#2. Click B&W in the Presets tab
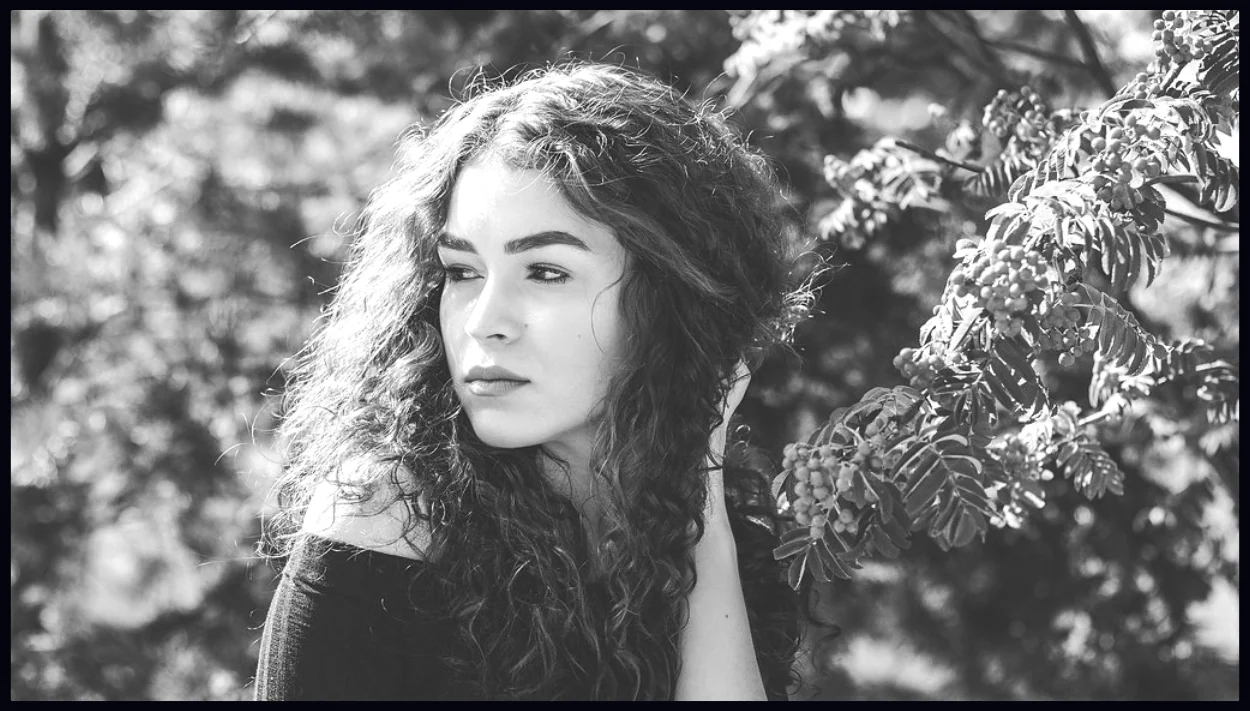
Open the Presets tab and click B&W. The photo turns monochrome right away. Drag Preset Amount below 100 if you want to keep a hint of the original color.
#3. Add contrast
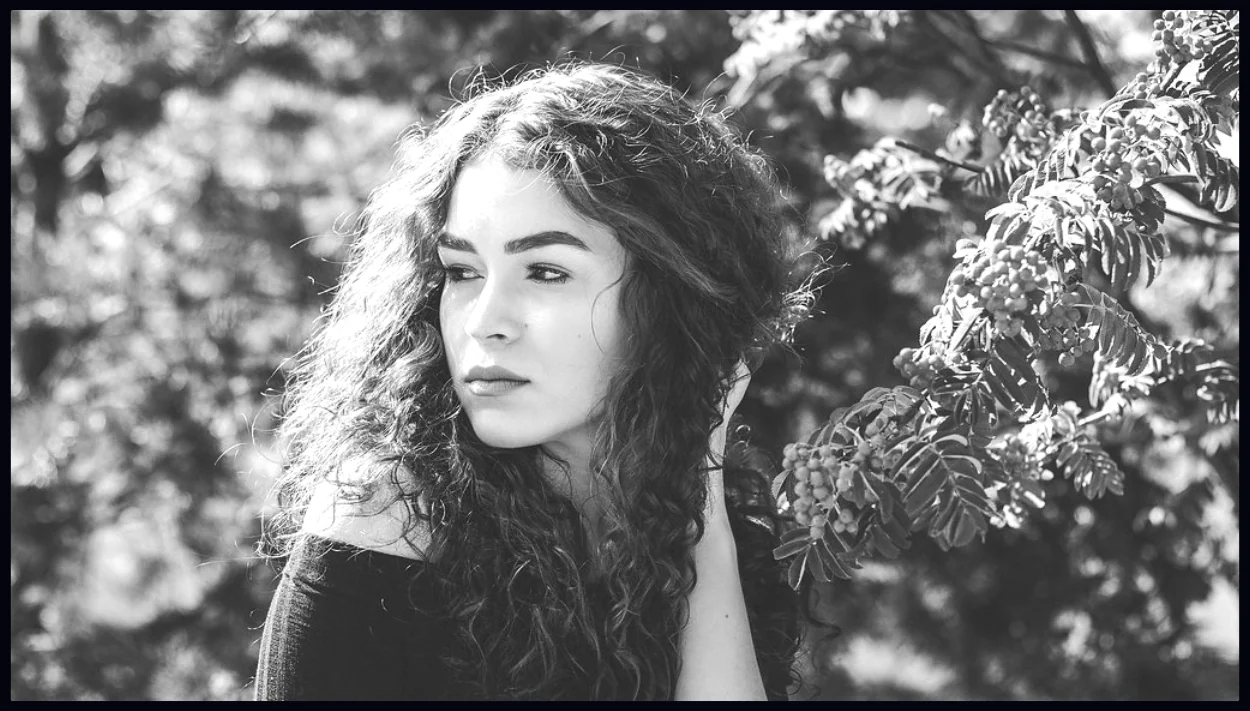
A quick conversion often leaves everything looking flat grey. Open the Light tab and raise Contrast (125 here) so the darks get deeper and the whites brighter. A little Clarity adds texture to hair and skin.
#4. Try Noir for a darker mood
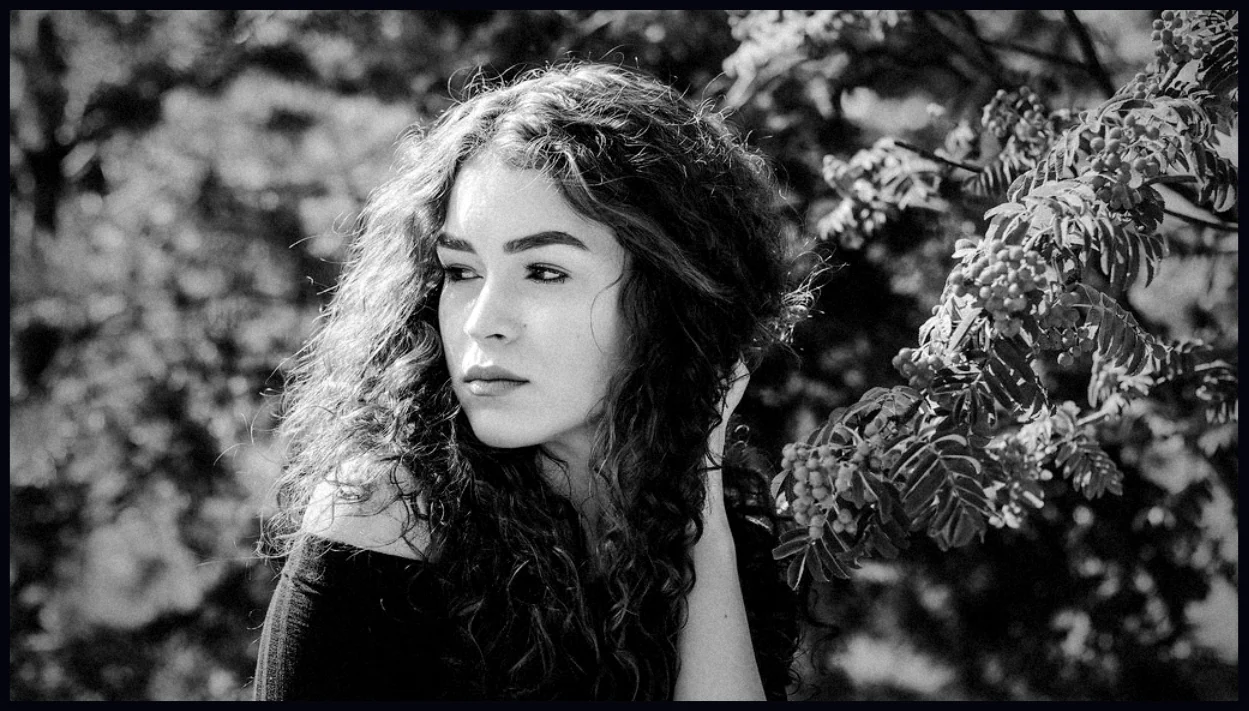
Click Noir in the Presets tab for a heavier, moodier black and white with deeper shadows. Compare it with B&W using the B split view and keep the one you like better.
#Tips
- Do the tonal work after the conversion. Black and white is mostly light against dark, so use Contrast, Shadows and Highlights on the converted photo.
- For full control over the tones, use tone curves.
- Save a copy to keep a color version. Save as Copy never overwrites the original.
#Questions
- What is the quickest way to make a photo black and white?
- Open the Presets tab and click B&W.
- Can I keep some color?
- Yes. Lower the Preset Amount slider to blend the original color back in.
- What is the difference between B&W and Noir?
- B&W is a neutral conversion. Noir is darker, with deeper shadows, for a more dramatic result.
About the photo editor · Pricing · Download Pluto Photos · Contact support