
How to Dodge and Burn: Lighten and Darken Parts of a Photo by Hand
Press O, choose Dodge to lighten or Burn to darken from the hover menu, set a large soft brush and low Strength, and paint over the area in several light passes.
Requires Pluto Photos Pro (one-time $29, no subscription). The free download includes a 30-day trial of every Pro feature.
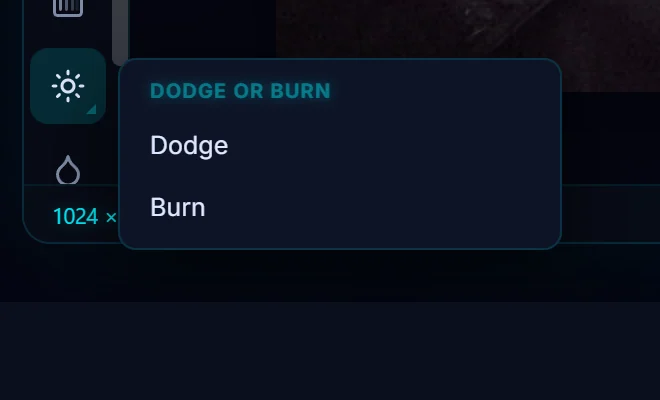
#1. Choose Dodge or Burn
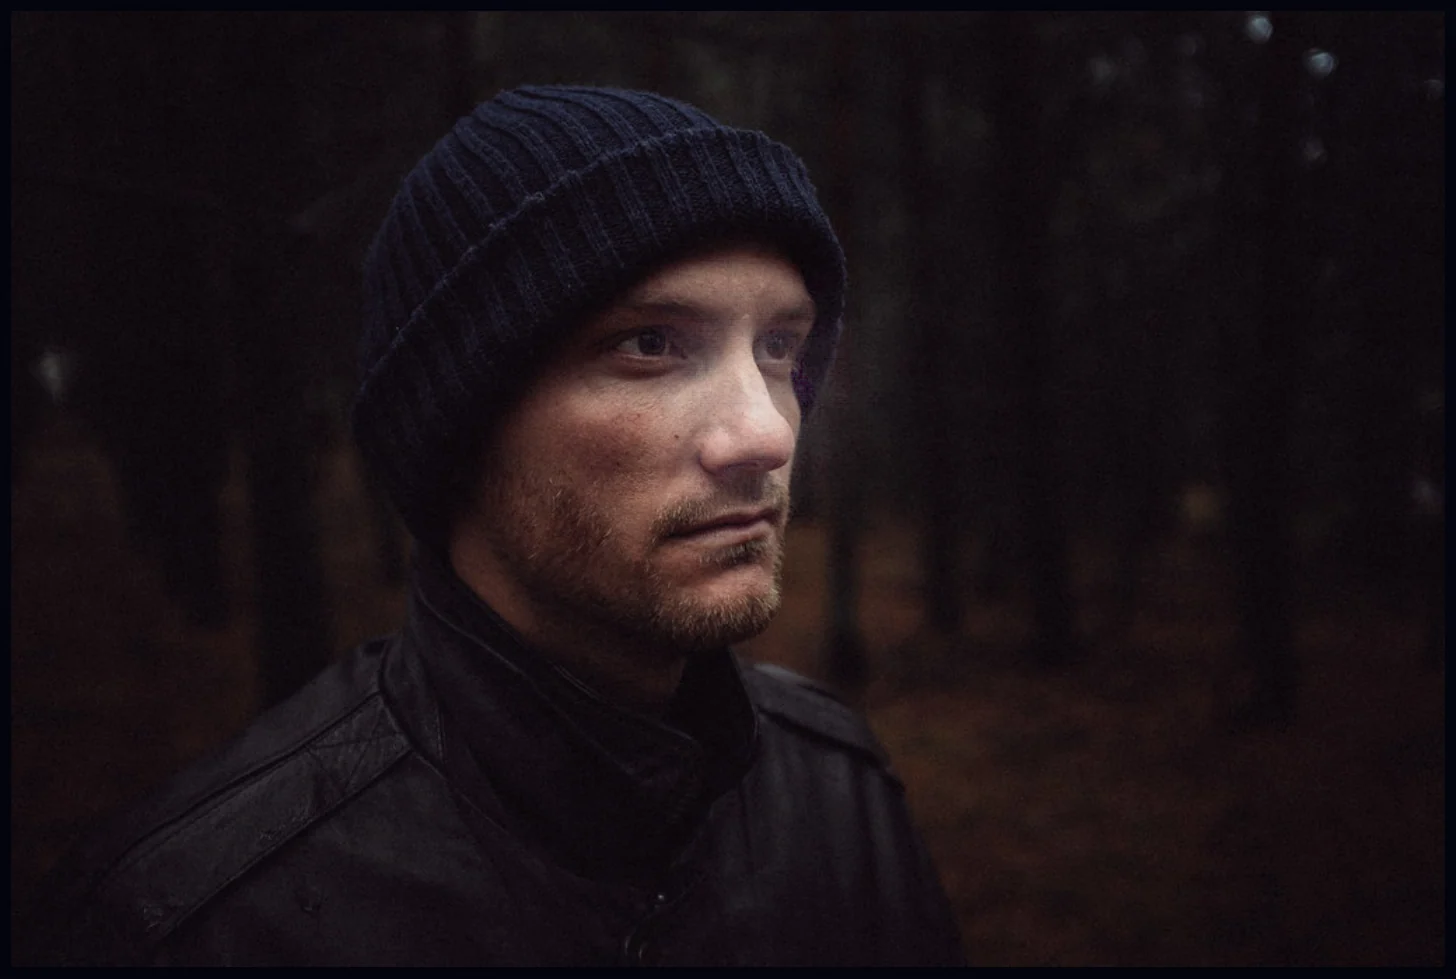
Hover over the Dodge / Burn tool (O) in the toolbar to open the Dodge or Burn menu. Dodge lightens and Burn darkens. This moody portrait is dark across the face.
#2. Set a soft brush with a low strength
The options bar has Brush Size (2 to 300), Hardness (0 to 100), Strength (5 to 100) and Pressure. For a natural result, use a brush bigger than the area, a Hardness near 0 so the edge is soft, and a low Strength of around 20 so each pass only changes the photo a little.

#3. Paint in several light passes
Paint over the cheek and forehead, where the light would naturally fall. Each stroke goes into History as Dodge, so you can undo one at a time. Build the effect up gradually instead of using one strong pass.
#4. Switch to Burn to add depth
Switch to Burn and darken the edges of the frame, the jaw line and the background behind the head. The contrast between the lit and dark areas makes the subject stand out.
#Tips
- Painting changes the pixels of the selected layer. To keep the option of removing the effect later, press Ctrl+J first and work on a copy of the layer.
- If you can see the brush strokes, undo and use a lower strength.
#Questions
- What does dodge and burn mean?
- Dodging lightens part of a photo and burning darkens it. The names come from darkroom printing.
- Why is my dodge effect blotchy?
- Use a softer brush (lower Hardness) and a lower Strength, and paint over the area in several passes.
About the photo editor · Pricing · Download Pluto Photos · Contact support